
I was watching Sheena on Create and Craft on Saturday, and of course this got me wanting to be creative. Following Sheena's show was a Martha Stewart one - and I suddenly had an inspiration to find my little packet of fimo and create some flowers for our forthcoming Pavapol workshop next week.
Well I couldn't find my Fimo - HOWEVER - I found a half-used packet of Cloud Clay - which is almost identical to the Martha Stewart Paper Clay - RESULT! So I took myself off to the den with the hope that the clay hadn't dried out!
Firstly I created some roses and leaves ready for the canvas I will be doing at the Paverpol workshop. I am hoping these will be suitable to be dipped in the Paverpol and I can then paint them and add some gilding wax. (well that's the plan ...).
The roses were made by hand by what I call the "marzipan rose" technique, and the leaves were cut out with a plunge cutter, which cuts the shape and embosses the veins on it. I then played with another cutter and veiner and made some blossoms and my butterfly plunge cutter. (Note: I worked the clay to a flattish shape with my fingers and then rolled it very thinly).
The roses were made by hand by what I call the "marzipan rose" technique, and the leaves were cut out with a plunge cutter, which cuts the shape and embosses the veins on it. I then played with another cutter and veiner and made some blossoms and my butterfly plunge cutter. (Note: I worked the clay to a flattish shape with my fingers and then rolled it very thinly).
As you will see you can mould/tweak the items into shape before the are completely dry.
BUT then my ikkle brain cell went into lateral thinking mode .........
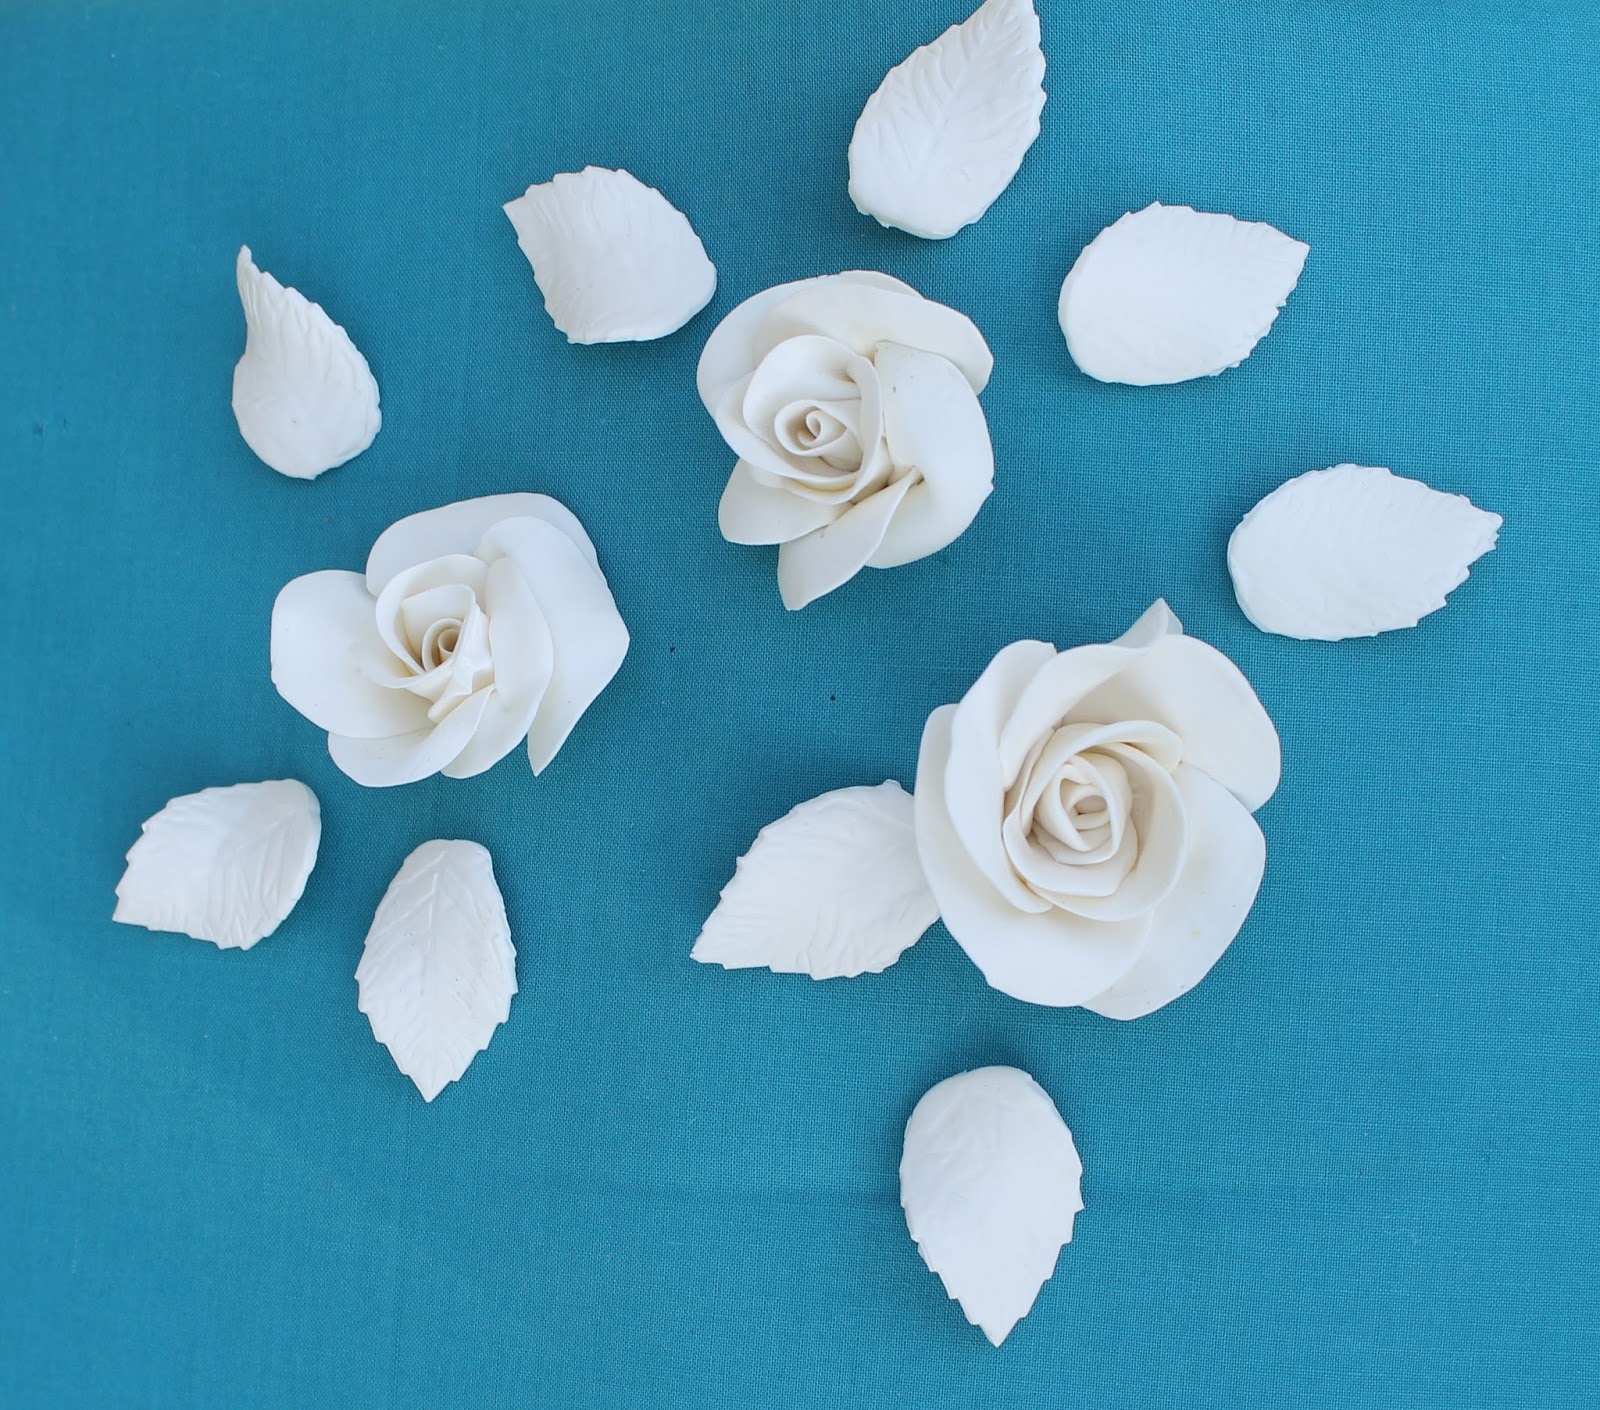 |
| Roses and Leaves |
 |
| Blossoms and Butterflies |
.......... and I thought - if I can vein these leaves with the cutter, could I impress a stamp the clay - the answer was YES!
 |
| Using Sheena's stamps |
My first try was the little violet stamp on the left-hand side of the picture. Then I tried one of the fantasy flowers - the first one was difficult to cut out as I couldn't see the outline clearly, so I redid it using some stazon on the stamp first. much easier!
I rolled the clay thinly and then stamped into it (with the stamp on my rockerblock to get some good pressure). I peeled the clay off the stamp and then cut them out with scissors. I then repeated the procedure with some of the smaller stamps. - you will see that some of the flowers look a bit "mucky" - well I used the offcuts from when I cut out the image and worked them into a bit of fresh clay! (Working on the principal of "waste not - want not"). It didn't matter, because these are going to be painted and gilded eventually.
I also made some of the same flowers with the gel and paint technique to try and compare the results - but it seems with the weather that these are refusing to dry even 24 hours later - so this is definitely a quick alternative solution!
I have also stamped an ornate leaf flourish into clay and cut that out (photos to follow when I have put those and the stamped flowers above onto a project).
1 comment:
Hi Mags this is a fantastic idea, and it worked ,you are a very talanted lady.I have to go googeling as I do not know what Paverpool or cloud Clay.I also have never seen Sheena so I have a lot of searching to do.
Smiles
Ita
Post a Comment