Going Green Blog Background

Tuesday 29 April 2014

Faceted Haematitie and Pearl Necklace


I am really pleased with this necklace.  It is actually a long one (30") but to display it I have wound it around the display twice.

I have wanted to design something like this for a while, and it wasn't until I went to the Big Bead Show that I found exactly the right connectors and findings to make it.  The haematite and pearl beads are on eye pins, and are connected to the rings with"w" clips.  So glad I found those clips - absolutely brilliant.

Just a simple design, but I think so effective.

Saturday 26 April 2014

Pippin Necklace - another tick on the Bucket List


I bought this kit from Spellbound Beads at the Big Bead Show the other week - a) because I fell in love with the design and b) because I have always wanted to try and do this sort of wire work.  I have a Bucket List of Craft things I want to try - some people want to visit places around the world, I just want to try loads of different crafts.

Well I must confess it took me longer than planned.   My original attempt was a disaster (fortunately realised where I was going wrong after wiring up a couple of the beads.   I does help when it say 8 mm, that you do 8mm and NOT 8 cm - oops!  Yes well I am ancient - inches are my thing not metric!.

Having overcome that hiccup, the centre piece went really well.  Then came the attaching of the seed beads.  The original pattern was one long chain of beads from one side to the other, but this meant that the necklace would be too long for what I wanted if it had to go over my head.   I decided to make two strands and join them with a magnetic clasp.   Simples - erm no - kept breaking the strand, and of course not until I came to the end of all the double threading!   Eventually after a few attempts and some choice words I manged to get the seed bead strands attached, and decided to try it on - and heck it was jinxed yet again - one of the magnetic clasps decided to disintegrate!

Finally success, and the effort was all worthwhile.  It is so pretty and delicate, and I have received loads of compliments on facebook.   One pal stated "I hope the recipient appreciates the work involved".  My reply was oh yes they will, I have made it for ME! ....

....  and I have crossed off another "To Try" on my Bucket List.


Friday 25 April 2014

A Little Experiment

Finished Tissue Box

I needed a tissue box for my Craft Den, and decided to experiment with Sheena Douglass's new "Taste of India" stamps.   

i had wanted to use the Henna stamp, but it was too large, so opted for this one instead.

I painted the box with gesso and then bronze and blue metallic acrylic paints.  (I quite liked the effect of it looking like an old tin, but wanted to do some more to it, but couldn't quite decide, whether to use distress inks or acrylic paint, so decided to proceed with the enamelling and make a final decision later.)

Work in progress
I stamped the images on to the box with stazon, and then outlined them with pebeo gold outliner and then commenced to fill in the outline with pebeo fantasy paints to create the enameled look.

I continued to fill in the design, and then decided that I would use acrylics for the box to try and reflect the colours used in the design.  I used metallic red, green, blues, purple and gold paints, and randomly sponged them on to the box with a natural sponge, which gave me the result in the top picture.  

I would normally use gilding wax on the edges, but I used some gold leaf paint instead this time, also using it to touch up the outliner; and paint on some of the details from the stamp that were lost when I used the enamel over the design.

As you can see it was quite a transformation from the original work in progress photo.


.

Thursday 17 April 2014

Visiting a Poorly Pal and a little cooking

One of my old school pals is a tad under the weather at the moment, and in quite a bit of pain, not helped by the fact that she is a carer for her husband who has a form of dementia, so she is struggling at the moment, so I popped over for a cuppa with her this afternoon to try and cheer her up.

Well I am not sure that I really cheered her up, but we had a good moan about our other halves, as we are both carers, and retirement has not brought forth what we had hoped.  Such is life!  However, it is good to talk and to get your moans off your chest.  We did have a few giggles along the way.

Hopefully I cheered her up with a plant, a small gift, and a card.  I hope that the Get Well Soon card will remind her hubby that all is not well with her at the moment when he sees it.

My pal likes art deco - so this was the little card I made.


and for some healing vibes, I made this hematite and pearl bracelet for her.  As hematite is supposed to have good healing powers.   Hope it helps.


Along with our cuppa we had some delicious melting moments biscuits from Asda.   Basically a lang du chat type biscuit, but round instead of long, and filled with chocolate.  Some of the nicest biscuits I have tasted for years.  Can see a visit to Asda coming soon!

After dinner I decided to attempt to make some, as I haven't made these little biscuits for nearly 50 years.  I have never had them filled before, that's what made them so delish!    I filled mine with nutella!   Not as even and round as the bought ones, but they tasted just as good.  They only took moment to make.


Whilst they were cooling down, I put the topping on the Simnel cake I cooked yesterday.

Sunday 13 April 2014

A Tissue Box and a Tidy Den!


I have been revamping the Den over the past couple of days.  I had some wood in the garage, that I decided to make into shelves and try and free up space on the work table (and the floor!) and also managed to finish this tissue box for my granddaughter.  Photo doesn't do it justice really as the design is outlined with imitation lead and painted with Pebeo Fantasy Enamel Paints, which are really pretty.

The trouble is it is now so tidy, I am scared to make it messy again!  Here are some random views!

It was a bit crowded with all that stuff on the shelf on the table!

I also had a load ob bits and bobs that I had painted - and managed to display those too.


Even a bag of MDF Shapes hanging tidily waiting to be painted!

Need another shelf to store all those canvasses etc.


another corner - with a garden bench for
visiting "painters"


a clear workspace!


a little work in progress

can you see the zentangled boot with a jar of bluebells from the garden in it?

more painting bits and stuff to paint!

last corner - my chair in the sun

Friday 11 April 2014

Finished Zentangle Boot

Well after I posted the pictures last night, I did a bit more "tangling" and then I finished it this afternoon. 

Pretty pleased with it.


Thursday 10 April 2014

Work in Progress - Zentangled Boot


I bought an MDF boot back in February at Make It at Farnborough.   I didn't know what I was going to do with it just bought it on a whim, as it was the last one on the stall.

My granddaughter originally wanted it to decorate, but I insisted I was going to do something with it.  I prepared it with Gesso earlier in the week, and still wasn't sure what I was going to do with it.  Initially it was going to be paint-fusioned.  Having applied the gesso - inspiration struck, and I then painted it with white acrylic.  Last night whilst watching tv, I got my Micron pens out and started some "tangling".


Today I have done a little more.  I am now tryint to decide whether to leave the bottom "rim" white, or may be do something like a piano keyboard around the bottom.

Wednesday 9 April 2014

Steam Punk Bezels


I have been playing with another of my purchased from Saturday - some UV Resin and some steampunk bits.  I always fancied doing some steam punk items.The resin is FAB - no mixing, as it is ready mixed, just squeeze the bottle!  It also takes less than 10 mins to dry out in direct sunlight!  FAB!

Here are some close ups of the pieces.   I need to practise a little more, as I can see a few bubbles in the photos (couldn't see them with the naked eye (well not these old eyes anyway) as the bezels are less than 3cm across. Of course if I had found the video by Lisa before I started, I would have known how to get rid of the bubbles as they occurred!  (and if I had been able to see them too!)

Close up of the bezels:

Before I added the bits and the resin I applied a little Pebeo fantasy paints first and let that dry overnight.


By the way did I mention that this resin is FAB, FAB, FAB!  rofl!

Tuesday 8 April 2014

Crafty Day

My eldest granddaughter visited today, as her mum had to go into teach extra lessons (yes it is the school holidays!)

When I was at the Big Bead Show, Dizzy-Di was demonstrating these hot fix bracelets, so I purchased the necessary components, and Ellie and I made these two today.  Not perfect - but not bad for first efforts!


Ellie's Bracelet

My Bracelet

Both Bracelets (you can see the macrame fastening in this photo)

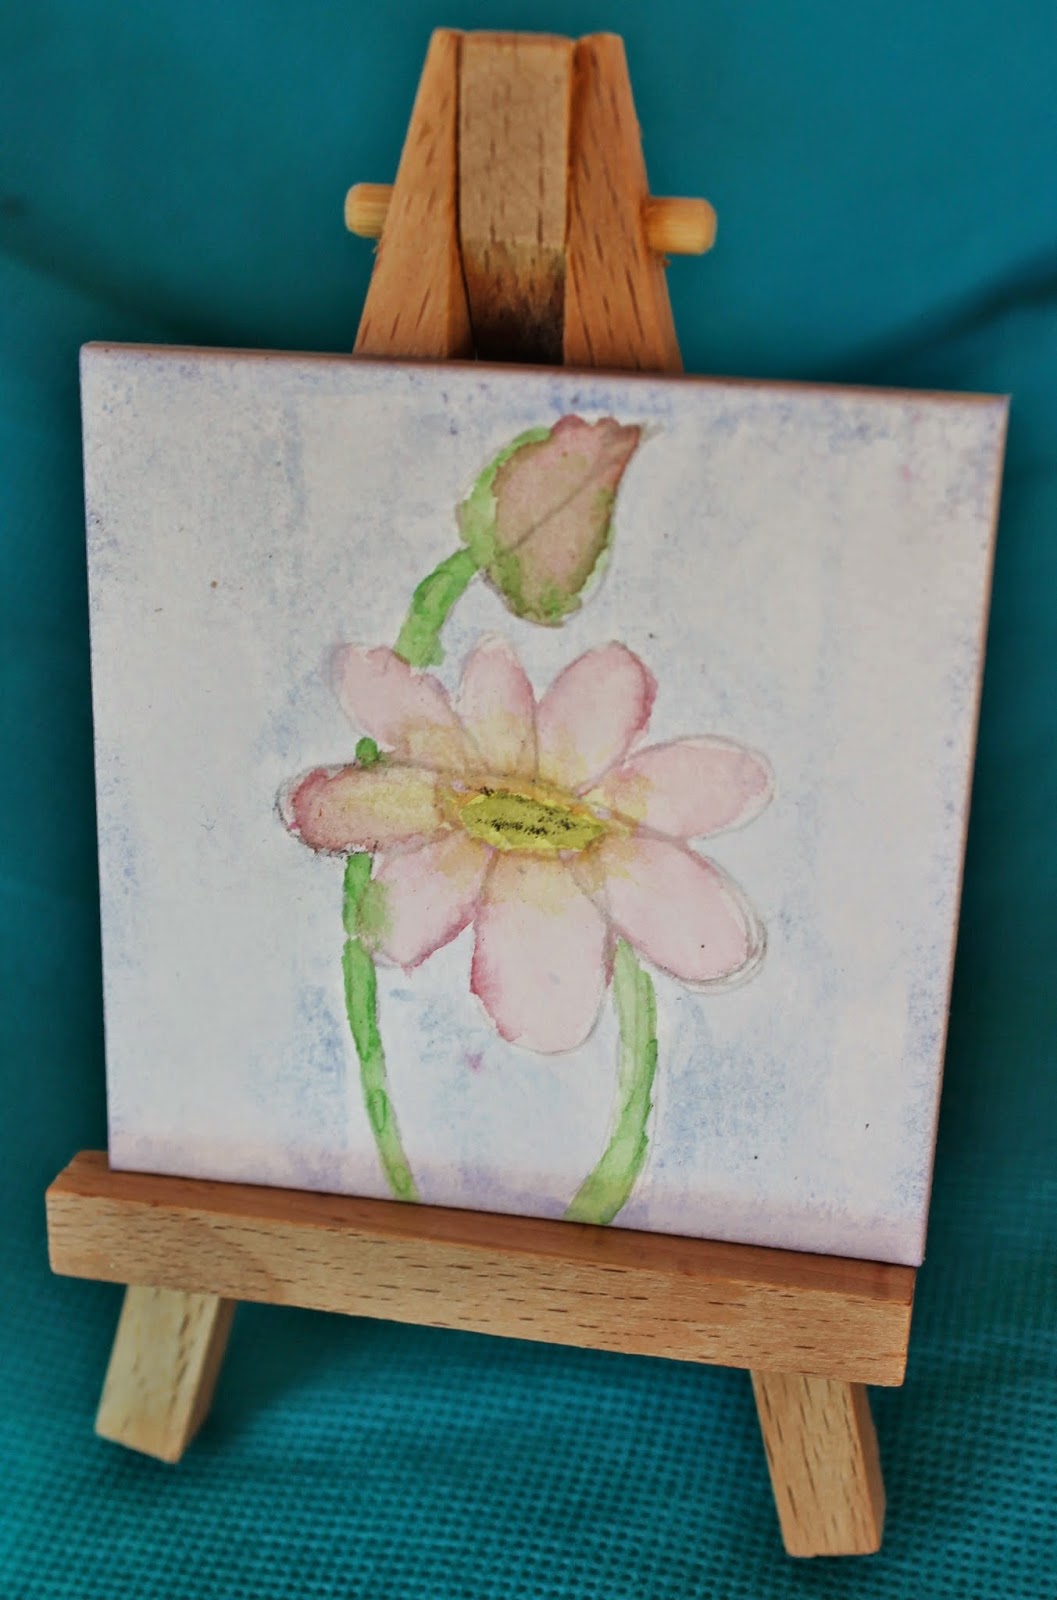
We also spent some time in the Den, I was mainly doing boring stuff like applying Gesso on items I need to paint.  Meanwhile Ellie had brought a new watercolour painting kit with her, and painted these two little pictures. I think they are great - wish I could draw like that when I was 12, well actually wish I could draw like that now!  I love the first one.


Experimenting with Cake Lace

I kept seeing pictures of beautiful cake lace, and wanted to have a try, and I have to confess my first attempts were a bit useless, and the lace broke.

Undeterred I put the random bits on a sponge I made myself for Mother's Day.  It was only my hubby and I eating it so it didn't matter (although visiting granddaughter did help!)

I then tried some ready-made lace paste, which was another failure, as I found it much too hard to spread! Naturally I was a bit miffed, as the molds and the paste are not cheap!

Oops Cake Lace!


A cake decorating pal saw this effort on FB, and we had a discussion about Cake Lace, as she had used it a lot, but not the products I had tried.  Bless her she sent me some of her paste in the post - and voila ! - success - I achieve a lovely flexible piece of lace. (the sample she sent me was silver coloured paste).  I was so pleased as I was determined not to be beaten by the technique. 

Naturally I had to knock up a quick sponge again this weekend to show off the lace, and to prove that I had mastered the technique!  (However, please ignore the dreadful choc coating on the top of the cake!)


successful cake lace.

Monday 7 April 2014

Not too girlie!


One of my great nieces is quite a tomboy really, and I didn't want to make her card too "girlie".  I knew I wanted to try out some embossed words, but apart from that inspiration was a little lacking.

I chose one of the backing papers from the Serif Digiboss CDs and added the embossed sentiments.  Then inspiration struck - she loves her new puppy, so I took one of her photos into cut-out studio to eliminate the background, and added a rose, which I cut in half using the scissors tool to make it look as though the dog had it in her mouth, and finally added a faux ribbon and pearl, and using stamp mode put some faint white butterflies on the background.    Yes liked the effect!  Hope she does.

Tuesday 1 April 2014

Butterflies


Just  a fairly simple card tody createde with the Butterfly Garden digikit.  Basically I started with one of the layouts and tweaked it slightly. by copying the background paper and reducing it to create the strip on the left.  Added the name and some faux pearls and and embossed butterflies.  I loved thelarge butterfly so much that I tried to keep the design to minimum - working on the less is more principle.