Going Green Blog Background

Showing posts with label MDF Kits. Show all posts

Thursday, 11 July 2019

MDF Piano


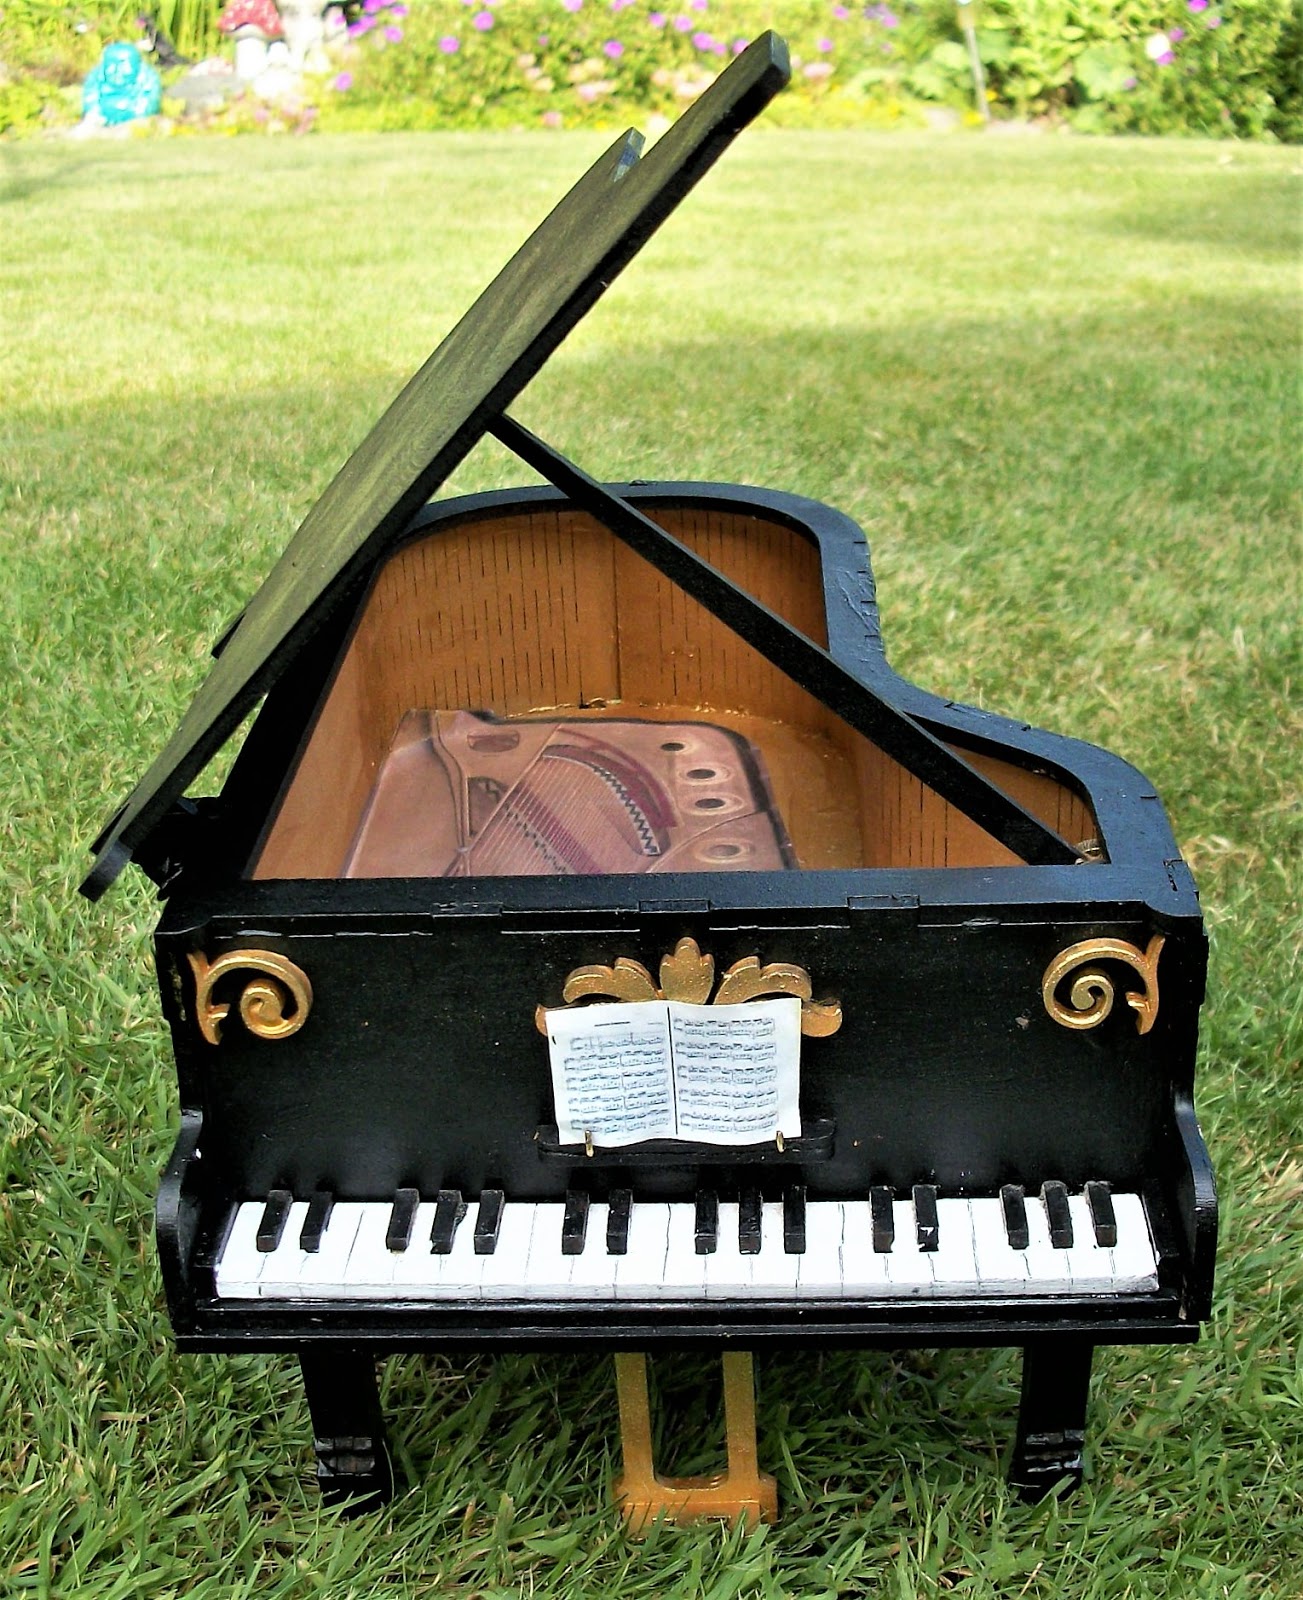
I have fallen in love with the littler piano.   I didn't know what colour to paint it - but ended up doing it in a classical style.  I shall make some flowers to go in it and I thought he black would set off the flowers well.


I gave the MDF a coat f of black gesso on the outside and gold gesso on the inside.   I also used the gold gesso on the gold sections and embellishments, with a smidgen of gold gilding wax to give shadows.highlights.

I found an image of the inside frame of a grand piano and printed that off and stuck it to the bottom of the inside - it wasn't quite the right shape, but it was difficult to get it just right.  However, it won't notice when the flowers are inside.

I wanted a music ledge, so I used one of the embellishments and cut it in half lengthwise with a hacksaw, and with a pokey tool (aka a crafter's bradawl) I made a couple of holes and fashioned some retainers with jewellery wire.   I then found an image of a piece of music and reduced it in size, slightly colouring it by brushing some Old Paper Distress Oxide over it.  I then coated it with gel to stiffen it.
another view

The kit is made by Olifantjie.

a glimpse of the inside
I will post another photo when I have made the flowers.   I am thinking at the moment roses and sweet peas.    In fact I could probably make a lot of different flowers and change the arrangement according to the season.


Saturday, 6 July 2019

MDF Grand Piano


I have always wanted a grand piano - but think this is the closest I will get - lol!   Work in progress at the moment as I have to decide how I want to paint it, now that I have made it.   Do I go classical black, or white, or cream or some bizarre colour?   I also need to make some flowers to go in it.

I am going to have fund whatever I decide.

The kit was from Olifantjie.

Friday, 5 July 2019

Celtic Tree


I got this Celtic Tree from Button-It and Craftwood Creations (oh they do have some lovely designs - do check them out).  It was great to catch up with them at Farnborough back in the Spring as there was no show last year and I do love their designs.

I have kept this very simple and just did a background with various green and brown acrylic paints, applied with a sponge.

I painted the decoration with black gesso and then rubbed Pebeo gilding wax, and to try and give some shading I used silver and gold.

I am not quite sure what colour to paint the canvas yet - possibly a light blue or a light grey.   I did think of watercolour painting it with blues and greens, but am not sure - I think it needs a plain background.  Decisions, decisions!

The kit in its "raw" state

Wednesday, 3 July 2019

Mixed Media canvas


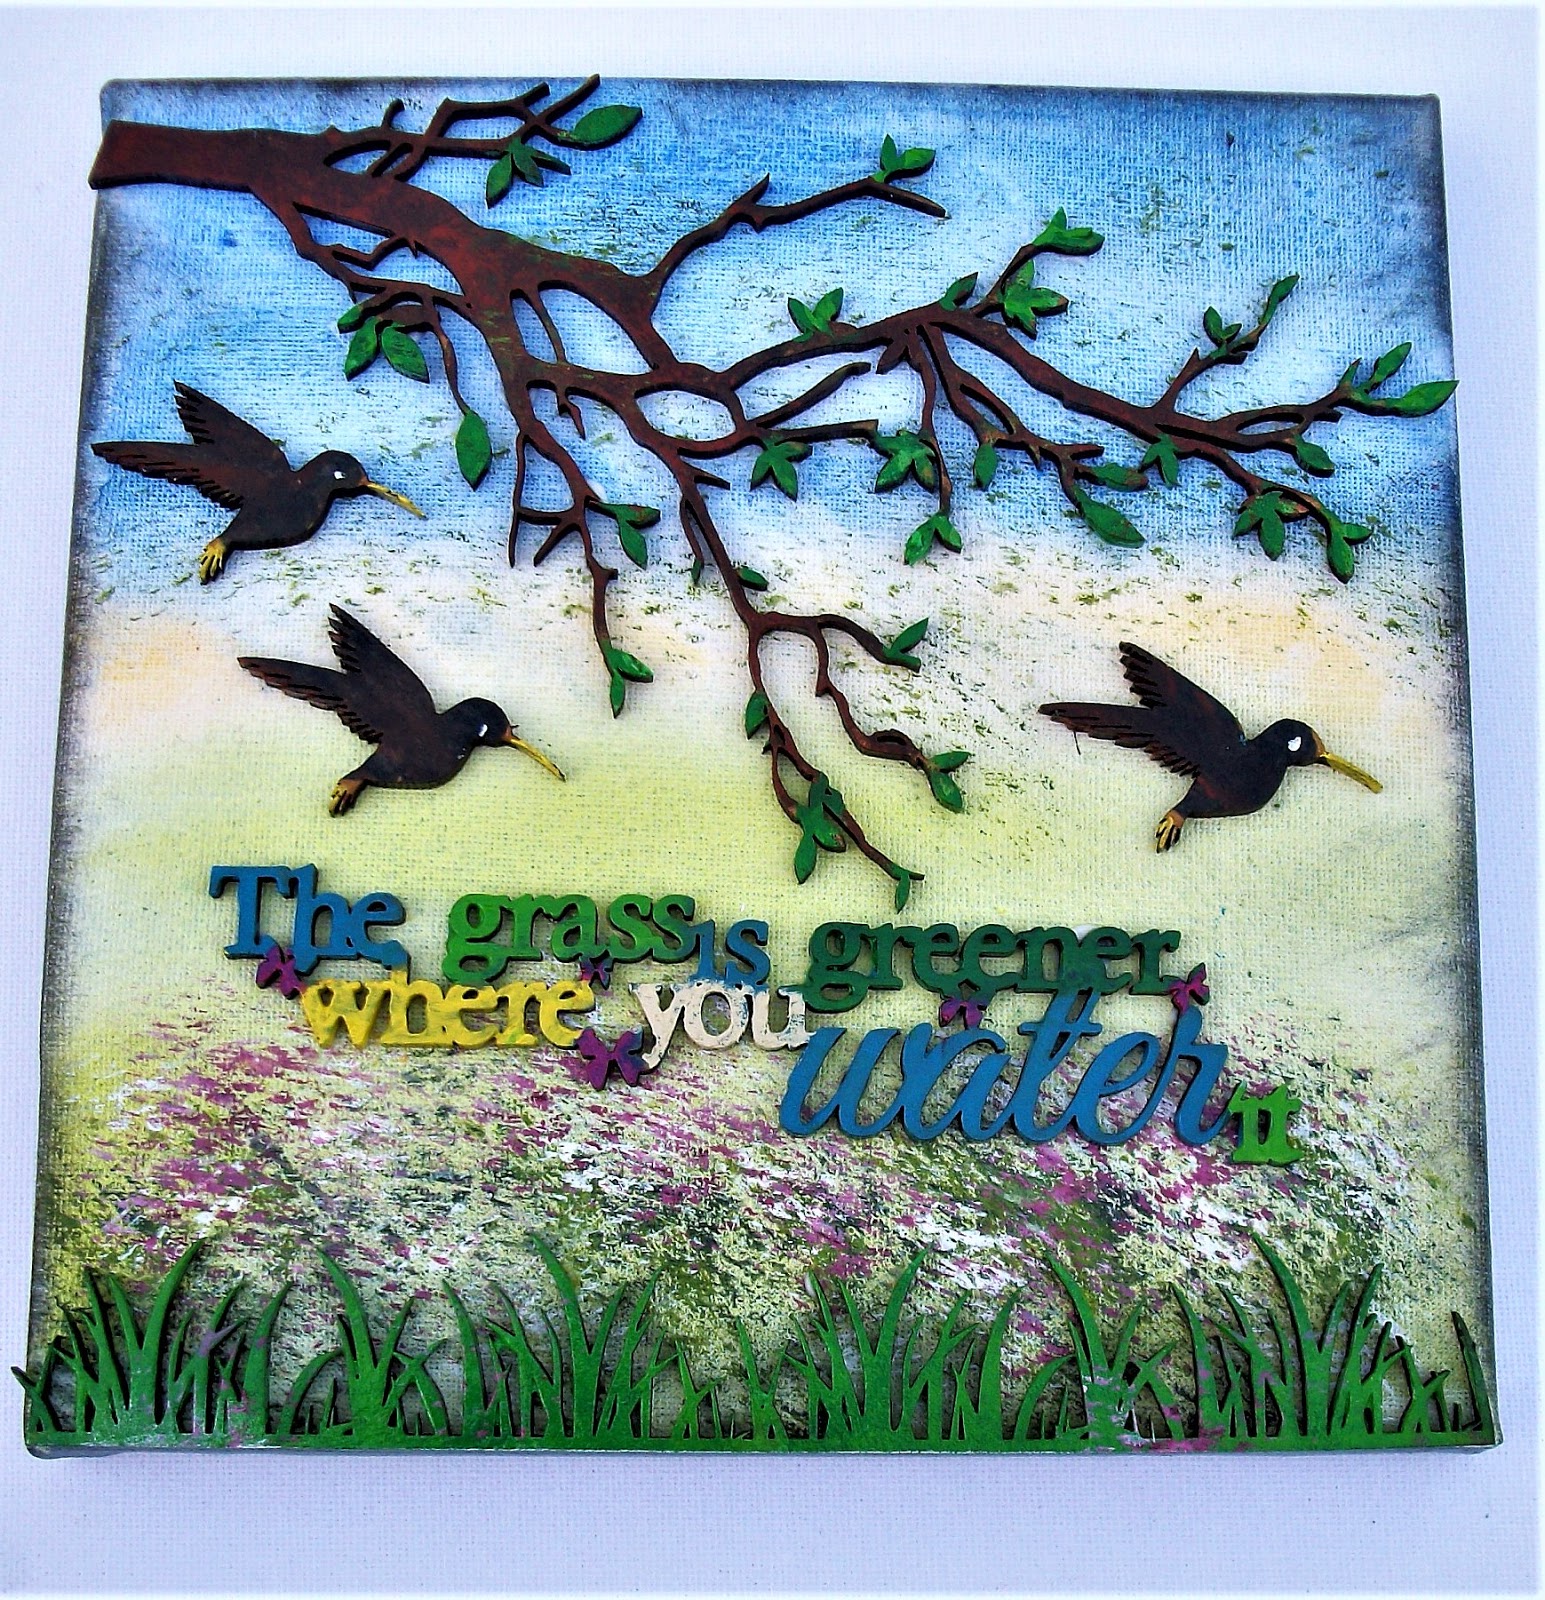
Another little play - using up some of my ~MDF stash.  I think this kit was from SamanthaK crafts - to be honest I have had some of my stash for so long I forget where I bought it - but I think this was Sam's that I bought at Farnborough.

I painted the background with water colours, in an attempt to create a countryside scene with sky, sunshine, fields and flowers.

The MDF pieces were painted with acrylic paints

Saturday, 29 June 2019

Mandala


Another MDF kit from my stash.  I confess I don't know the manufacturer - it might have been Olifantjie, I can't remember and there was no clue on the packaging!

The design reminded me of the rose window at Westminster Abbey - so that was my inspiration.

The mandala section was painted with pumice past to give it a "stone" texture, and was painted with paynes grey mixed with white gesso and with some Pebeo cream dry brushed over the top.

The back had white gesso applied, and then I traced a rough guide to the sections on to it.  I then painted the "rings" with Pebeo Dyna iridescent paints, which I then applied UTEE to for a really glazed look.

The flowers were painted with various pebeo paints amd sp,e Nuvo drops were added to the centres


Friday, 28 June 2019

Steampunk Owl


As the weather has improved and I can get outside to paint, I delved into my stash for some MDF projects I had bought in the winter.   I had great fun painting this.   The kit was from Madhatters.

I used Pentart Rust Effects and Patina paints to paint it.  Rust effect for the base, key and cogs, and the Patina effect for the owl.

Before I started to paint I added Nuvo drops, and some outlines with Pentart Contour Liner. I also add some Pumice paste to the key to make it look even rustier before I painted it.

(I have discovered another steampunk owl in mu stash .... so keep an eye out for that one!)

Thursday, 11 April 2019

Old Fashioned Grammophone


Work in progress.   I haven't attached the final panels yet, as I want to paint the main thing first, and also paint the panels separately, but hopefully you can get the gist.   It isn't as big a it looks in the photos!   It stands about 18 inches high.

The "needle" arm is movable too


Can't wait to start painting it!

Tuesday, 9 April 2019

Black & White Box


I have at last painted this box which has been sitting on my desk for a few months!   Originally I wanted it to be blue to look like Wedgewood, but I couldn't find any suitable card in my stash, and as I needed to stamp and emboss, painting the MDF wouldn't really work.   So ..... I decided to paint it to match the little one I painted a while ago.

Basically the box was painted with black gesso, and then strips of black card were cut, and a pattern stamped (John Next Door stamp) with clear embossing powder, and then Cosmic shimmer white detail embossing powder applied.   The strips where then stuck onto the panels of the box.  The handle was painted white and finally the whole thing sprayed with Spray and Shine.


Friday, 21 December 2018

MDF Harry Potter


Regular followers may remember the Tim Peake Brick Man that I created.  Well my son couldn't decide how he wanted his painted the other day I had another bit of inspiration and as he girls love anything Harry Potter, I decided to try and paint my MDF man to look like him.
It was quite interesting researching what colours he should be painted and I discovered that in the earlier films the stripes etc were more scarlet and yellow, and in the later films they were burgundy and gold - who knew?

I created his hair from hearty clay and I made his spectacles and his colare out of card. to make them a little more 3D.   I also found an owl mould in my ancient cake decorating stash, and created a white owl from Hearty clay too.  


Friday, 9 November 2018

Sewing Machine


Just a little teaser today - a MDF model sewing machine, which I have put together, and started on the decoration.using some Samantha K mdf elements and stencil.     I have in fact now applied a coat of white gesso, although I am not sure whether to continue with white as a base coat oor do it black.

I shall make some flowers etc to embellish it and also perhaps add some paint fusion flowers.

Monday, 5 November 2018

Christmas Tree Scene Model - Work in Progress


Originally these trees were going to be green, and I had applied black gesso - then I changed my mind.  I am pleased I did - I do like the blue/white effect.   I painted with white pebeo acrylic, and then sponged various blue distress oxides around  the edges, and a little green on the trunk   I did the same with the small trees.


with stag 
 The Stag was painted with acrylic paints.


with snowman

The snowman was also painted with white acrylic and highlighted with black from a Nujvo embossing pad with my finger to give the appearance of a rounded shape.  Ribbon was tied around his neck.  His features were added with micron pens, and the black of his hat was done with a Pebeo 4Artist Marker and a band painted with a Posca pen.

The Merry Christmas signs were sponged with a cream paint and brown paint and the words highlighted with a micron pen.

All there is to do now is to apply a snow effect, and add a bauble - which I am hoping to paint compliment the design - it may even be paint poured.

I will share the finished designs anon.

Sunday, 4 November 2018

Spooky Book Box - Finished


I showed work in progress earlier, and now the project is complete - it has had a spray of marble spray over all the surfaces to look like cobwebs.

inside of box

I have added a die-cut skull  to the back:  (The back had tissue paper scrunched up and applied with IndigoBlu slap-it-on, before painting with black gesso)

back of box

back and front of box


Friday, 2 November 2018

Sleepy Owl


Another owl project from me - this time a hanging ornament.   The moon was painted with various acrylic paints and then oversprayed with marble effect spray, and various colours of I-Zink Dye Spray Finishes.

The owl was panted with various shades of brown and cream Amsterdam acrylic paint   The clouds and stars after having gesso applied had white or silver Pebeo 4 Artist Markers applied, and then clear Nuvo embossing pad and clear embossing powder.   The clouds had a little grey distress ink applied for shading.  The owl didn't come with eyes - so I just drew closed eyelids on with a fineliner pen.


Thursday, 1 November 2018

Owl Plaque


This is a kit I had that I had a play with.   Background is done with Pebeo Bluc/Black and over-sprayed with marble spray.   The owle was painted with various brown Amsterdam acrylic pains and then details painted with Pebeo porcelaine paints.

The branch was also painted with the Amseterdam acrylics as were the leaves, but they were overpainted with Pebeo Vitrail and detailed with the porcelain paint.   The writing was done with Pebeo Cerne Relief.

Thursday, 18 October 2018

Owl Plaque

Picture taken with a flash to show the shine of the bacground

I had great fun building and painting this  plaque from Olifantjie.    The back had black gesso applied, and then was painted with my favourite Pebeo Blue/Black DYNA paint, and oversprayed with Montan effect in white.

The owl, branch and flowers were painted with various Amsterdam paints and for the claws I mixed some Cosmic Shimmer Fluffy Stuff with yellow acrylic to create texture on the claws.    The yes were painted with a mixture of Pebeo Vitrail and Fantasy paints to give that glassy-eyed look.  The centre of the flowers had some Nuvo drops added.     The rim was sponged with a mixture of Jade, Aqua and Clotted Cream Starlights paint.  Finally a coat of spray and shine was applied.

Another view:

Photo taken without flash which shows the marble effect spray

Monday, 15 October 2018

Robbie Robot


At least he can kneel!
Well I have finished painting the robot, albeit things didn't quite go to plan.  I got interrupted when painting him, and although I had freed up all his joints as I went - I seemed to have overlooked his hip joints.    When I went to pose him and take his photo I managed to break his hip joints.

I tried to remove his hip pin, but it was beyond repair, and knowing how difficult it was to assemble his legs, I abandoned the idea, and just took the hacksaw to the spindle and stuck his hips on.   As you can see  he can kneel, (and he can stand up straight - he just can't sit any more!)


A picture of what he looked like standing before I had finished painting him


a posed picture of him sitting before  I operated on his hips
(they aren't actually attached in this photo!)
Such a shame I messed it up.  I was a tad disappointed as he had been clear gessoed before painting to prevent paint leaking into his joints (and they all moved at this stage).     Hey ho worse things happen at sea as they say - and I did manage to remedy the situation, although not as perfectly as I would have liked.

For info he was painted with Indigoblu translucent paints (I wanted some of the detail on the MDF to show through, particularly on his body).  I then overpainted with Starlights paints - sort of dry brushing the colour on, and then added some Pebeo gilding wax on the elements that appear metallic.
His eyes were painted with Pebeo Ceramic and Fantasy paints.  (Really pleased with the effect).

Friday, 12 October 2018

MDF Robot


sitting down

At last I got around to building my Clevercut Robot.    I will confess that I did struggle with this one - he is quite complex, and I did struggle with the instructions sometimes.  However, it was worth it and he is quite cute.    Now to decide how I will paint him.


standing up, and poised to show all his swivel joints.

Friday, 5 October 2018

Happy Post

The Book Box

Another parcel I received yesterday was marked "Happy Post" and was a  present from the lovely Lou Withers.  It contained this lovely MDF Book Box containing 6 ATC sized grey boards.   This little present came with the proviso that I decorate it and post pictures on the Junk Journals and Mindful Art Facebook page.

Obviously I am accepting the challenge, and my mind is in overdrive as to how I will decorate them.  I did sit and make up the box this morning ... so have made a start.


The inside showing the ATC cards
For those that follow my blog and do not know what ATC stands for; it stands for Artists Trading Cards.   These are normally playing card size, made of card, tand show off the artist's work.  They are quite often made in a group of related designs.   A sticker is put on the back denoting details of the artist, and the name of the design etc and whether is is part of a series.

Obviously being grey board these are a bit thicker - and I don't think I will put details on the back, but decorate both sides.   My initial instinct is to coat one side with white gesso and the other with black gesso, and do similar techniques, but on the different basecoats..  Watch this space as they say!

Thursday, 4 October 2018

Mini MDFhouses


How cute are these little houses frin Samantha K Crafts.    They arrived this morning, and I just had to make them up.   If you look closely you will see that som of them have little holes in the top, so they could be hung on a Christmas Tree.   Also apart from the one that looks like a pagoda, the roof lifts up so you could put a little sweet inside them.    They would also look good inside baubles or bell jars with some imitation trees, moss etc. (This may well be the route I go down).

I also have to decide whether to leave them as they are or do some colouring on them, and make them look like little "gingerbread" houses.

Sunday, 30 September 2018

Haunted House


The light wasn't very good when I took this photo, so hope you can see it clearly enough.   Another of my Halloween Kits - I apologise that I can't remember the name, but there are no labels on the bags, all I can say is that I bought them from Hochanda.

The house is made so that a battery tealight will sit in between the front and the back, so I painted the insides of the two parts of the house with Pebeo Dyna fluorescent orange.   It does look effective with the tealight in it (although this photo is just taken with the flash on the camera. )  

As with the tombstone I used mainly Pebeo paints for this kit.  (Mmainly because I was up the garden in my Den, and all my Pebeo paints were up there and to hand; and as it was so lovely in the sunshine I was too lazy to walk back down to the house for any others!)

I have used the marbline spray again on the house, didn't quite go where I wanted it - but it looks quite effective in real life.  

I still need to work out exactly where the ghost is going to sit and glue him down properly, and I think the bat needs some "eyes".   I will try and take another photo in daylight and add it here.  I do find taking a photo is quite good as you can then see what need improving.

As promised another photo: