Going Green Blog Background

Showing posts with label Bizarreology kits. Show all posts

Sunday, 8 December 2019

MDF Christmas Ornaments


I am really pleased with how these Bizarre-ology kits turned out.  I knew exactly how I wanted them to look.

Having built all the pieces, I gave them all a coat of white gesso, and then some white acrylic paint.  I then took a blue Artistry Ink pad and daubed them with a sponge.

The base of the hanging pear shape was covered with Imagination Crafts Icy Snow paste, so that the scene elements would stick and not fall about if knocked.   I also added some Amsterdam Pearl Medium over the top to make the snow "glisten", and this was also added randomly to the scene elements, and to the base of the hanging unit.

The river effect was created using Golden High Solid Gel Gloss, to which some transparent blue acrylic had been added, and then sprinkled with Cosmic Shimmer Diamond Frost.


The following pictures were taken before I finished off the base unit and applied varnish, but hopefully show the sparkle better.


Monday, 9 September 2019

Kaleidoscope Part 2


The finished item (well almost - I need to make a flower arrangement so sit on the top so when it is not being played with it is more of an ornament).

The decoration is pink roses and rosebuds, with some gilding wax, and some gold relief paint in places.


The inside has blue roses and a dais8


The kaleidoscope with the "slides" in situ for viewing.


A view of the top


The rose on  top of the "box" viewed through the Kaleidoscope

Now to get out the clay and make a floral arrangement !   (The grandchildren have had great fun looking through the scope.  (I may have to make some more "slides" and interchange them).

Sunday, 8 September 2019

Kaleidoscope Part 1


 I have been working on a Bizarre-ology Kaleidoscope over a few days, and am splitting this blog into to parts.

This was the start of the project which was painted in black gesso and then over-painted with my favourite Pebeo Blue/Black iridescent paint.

I also made up the kaleidoscope and added the faux leather and some gilding wax.


Inside the "doors" is the  "slides"  holder


The images were created using alcohol ink, and and some small beads


and here is a glimpse of one of the images through the kaleidoscope:


Part 2 tomorrow - the finished item.

Thursday, 11 April 2019

Old Fashioned Grammophone


Work in progress.   I haven't attached the final panels yet, as I want to paint the main thing first, and also paint the panels separately, but hopefully you can get the gist.   It isn't as big a it looks in the photos!   It stands about 18 inches high.

The "needle" arm is movable too


Can't wait to start painting it!

Monday, 18 March 2019

MDF Typewriter


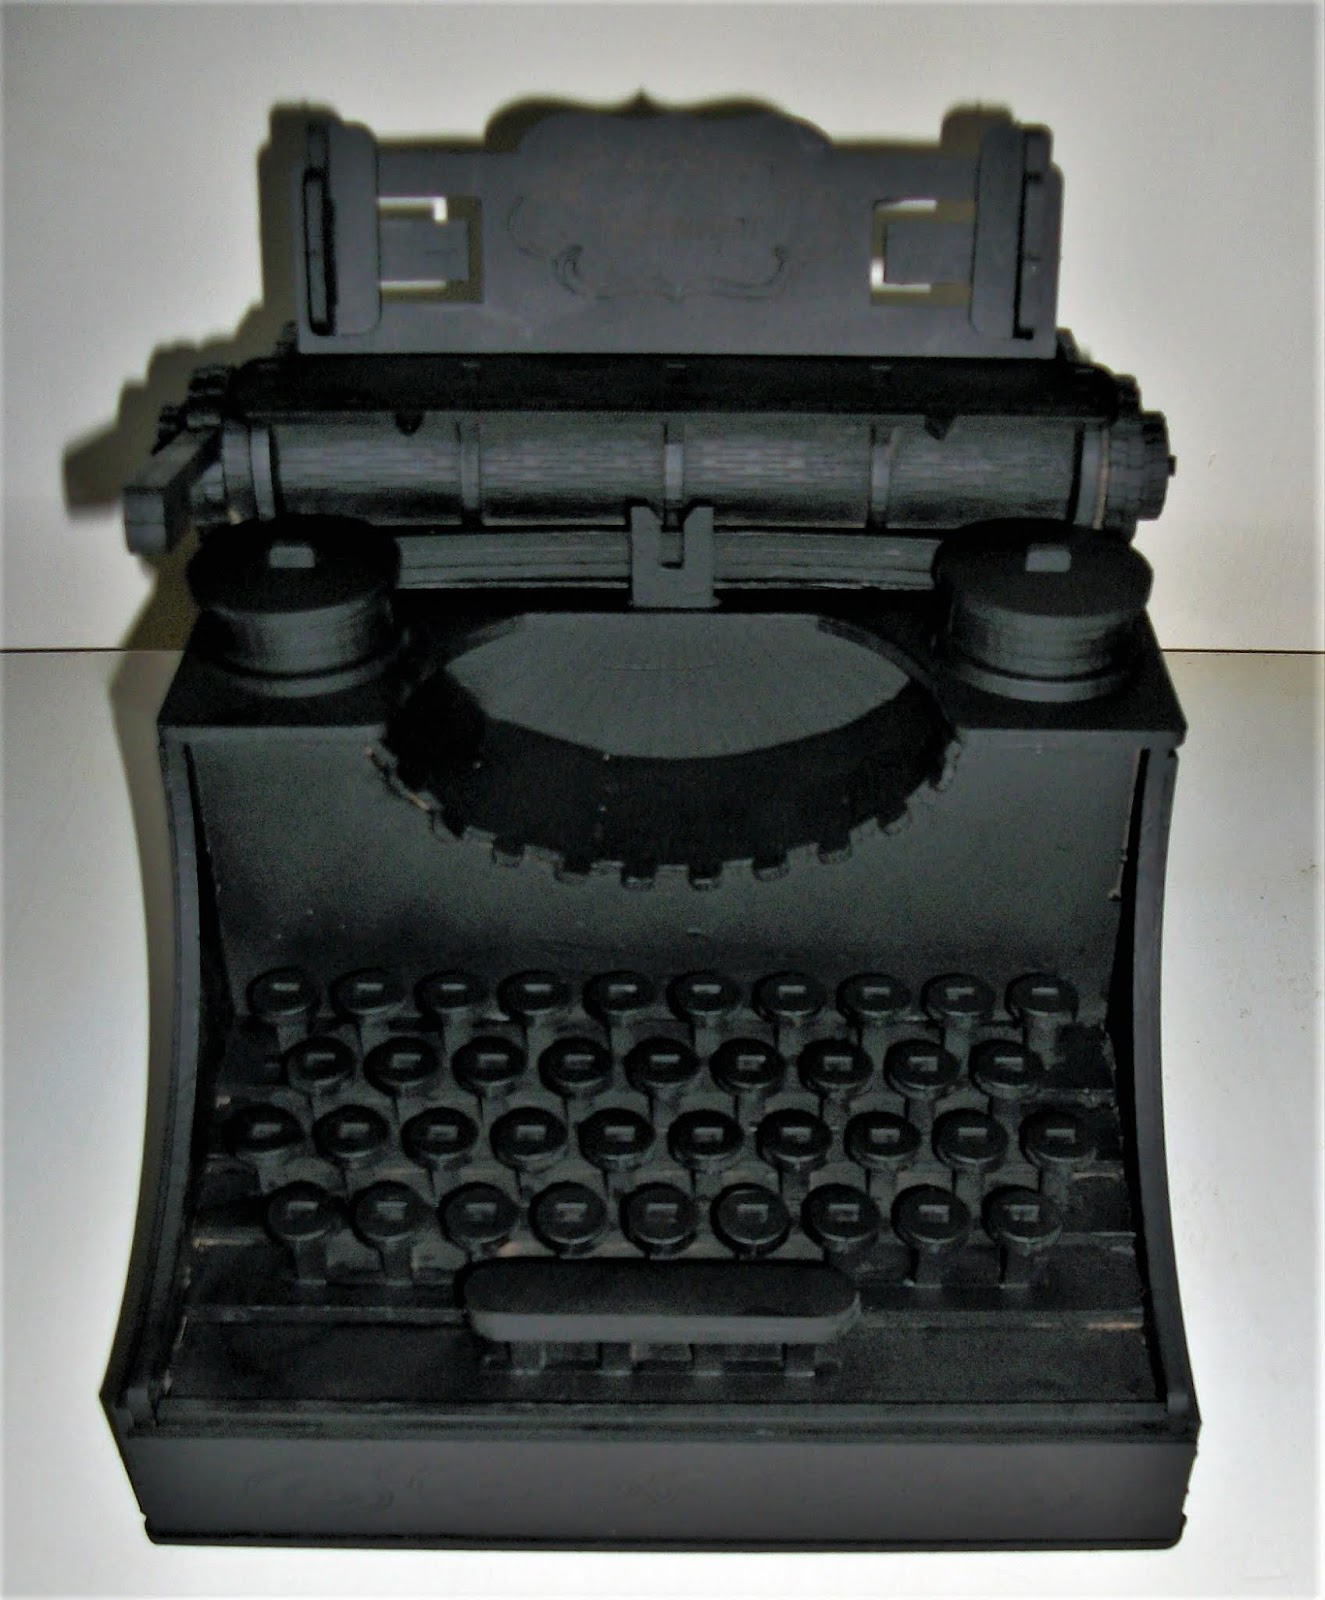
Firstly to recap ... it started off like this - am MDF kit from Bizarreology, which I built:


Then I sprayed it wit black gesso:


The typewriter keys weren't added until later.  I out-lined the letters with black Posca pen, and then painted the surrounds with various shade of cream,and browns.   I then applied triple thick embossing powder to them to give them enamelled look.  When dry gilding wax was applied around the edge.
(I did make one boo boo - I embossed them whilst still in their board -erm - which of course had embossing powder on as well and they got stuck!   I thought it would be easier than chasing the individual ones around the desk!  Fortunately applying a little solved the problem and I was able to push them out.  Some of the "enamelling" did crack slightly - but that added to the "aged" look)


So here it is the finished item.   Gilding wax was applied over various parts, some red acrylic paint applied to the "ribbon", and various brown acrylics to the roller.   I also paint the detail on the sides and front with gold Posca pen.   The ke mechansim in the middle was done with gilding wax and black Posca pen, and rubbed in with my finger.


Two more views: