

I made these carnationss as a trial for a forum friend who was asking whether there was punch to make carnations. Using my knowledge of sugarcraft I knocked these up quickly using an old white coffee filter paper!
Today I have made another one using 80 gsm white copy paper.

This is what I started with - just what I had to hand: scallopped petal punch (EK), scissors, some freebie frosted chalks and some cut and dry foam, and some flowersoft glue. (note I just used what I had to hand, but you if you have a small scalloped circle nestie you could use that)

Punch out five flower shapes and using scissors snip into the edge all the way round - tip, lay all the shapes on top of each other and cut them at same time - saving labour! When you separate them it will also help to separate the fringing!

Once the edges have all been snipped, take the cut and dry foam and the chalk and work into edges - doesn't matter if the "fringing" turns up as you do this, as it helps to separate it. Turn over and chalk the edge on the reverse - this can be done from centre out on this side.

This is what you should end up with.

For the centre you need three "Z" shapes. Attach a drop of glue to the centre of one petal and fold in half.
Next fold into a "Z" shape, by folding right-hand side in toward the centre about 2/3rds of the way across, and add a drop of glue to the bottom half. Turn over and fold the right-hand side in again and add a drop of glue - you should now have a "Z" shape folded fringed triangle.

Roll the cones between your fingers and splay the "fringing" slightly, by rubbing thumb over the top. Then cut off a small piece from the bottom of the cone - as in right hand shape in the picture.

The two remaining shapes have segments cut out of them - one with 1 segment missing and the second with two segments missing. Form the two shapes into cones, by overlapping one scalloped segment over another and glue - you should end up with two shapes like this:

To assemble the flower, place a drop of glue in the base of the larger cone and insert the smaller cone.
Place another drop of glue in the second cone, and add in the 3 "Z" shaped segments.

and you have a nearly finished flower. You could leave it like this, but I then took a Promarker (you could use a felt pen ) and with the pen at "flat" angle gently brush over the edges in a few places

Showing the Promarker edging.
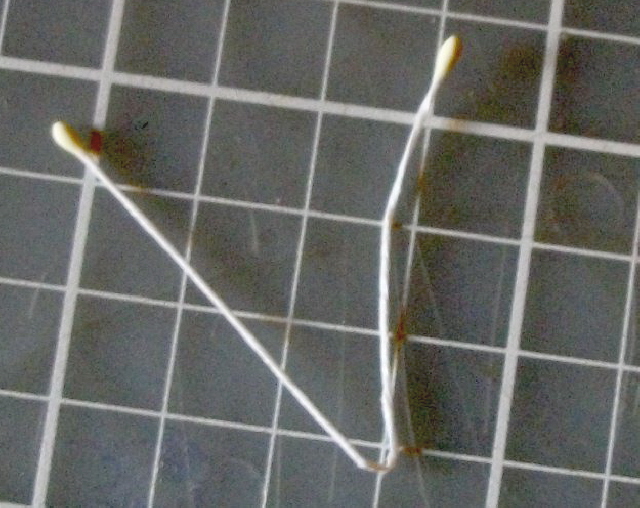
If you would like to add a bit more detail to your flower, you can take a stamen (mine came from my sugarcraft stash.)

cut off the tips of the stamen and with your thumb nail gently run along the stamen to curve both sides. Add a drop of glue to the folded end and insert in the middle of the "Z" shapes and trim to size.

Finished flower with stamens
Hope this all makes sense, it really is easy. I am now thinking of trying to make one actually on a wire!

