Going Green Blog Background

Showing posts with label Amsterdam paints. Show all posts

Monday, 20 May 2019

Violin


I treated myself to one of the Bizarre-ology violin kits.   Here it is made up.  and here it is painted ....


The paining didn't quite go to plan - I originally wanted a crackle finish on it - but my crackle didn't really want to work - actually it was so fine yo could hardly see it.    However undaunted I kept going!


I started by applying white gesso, the Pebeo Dyna blue/green paint.   I then applied buff titanium mixed with  crackle paint.  It was then dry brushed with gold and silver paint and some was applied by scraping across the surface with a palette knife.

I then applied some rice paper images that had a bit of music on them, and added a little more titanium buff and gold to blend them in around the edges.

I add flat back pearls to the keys, and a smidgen of gold paint to the strings (which were supplied with the kit and had a little sparkle in them).  I also applied a little buff titanium and gold pain to the ribbon on the bow.

It needs a coat of varnish and I am waiting for my matt varnish to arrive, though I may change my mind and paint it with a glass varnish if I don't like the matt finish.

Thursday, 1 November 2018

Owl Plaque


This is a kit I had that I had a play with.   Background is done with Pebeo Bluc/Black and over-sprayed with marble spray.   The owle was painted with various brown Amsterdam acrylic pains and then details painted with Pebeo porcelaine paints.

The branch was also painted with the Amseterdam acrylics as were the leaves, but they were overpainted with Pebeo Vitrail and detailed with the porcelain paint.   The writing was done with Pebeo Cerne Relief.

Thursday, 13 September 2018

Introducing MDF Tim - Spaceman


My latest project is complete -  MDF Tim Peake (as requested by my daughter).

view of one arm

view of second arm

back


sitting

I had a guide from a picture of a lego Tim, and also some pictures of Tim's space suit.   I had an inspiration for his hair - I modelled it using FMM Air Dry Clay - this proved a brilliant idea, as it can be removed.    When dry the hair was painted with various shades of brown, etc.

Work in  Progress - Face added with Posca Pens


I used Craft Artist to design his "clothes"  - taking the badges in and re-sizing them.  I created some zips.  I also took his name badge from his space suit, and then redrew it using a couple of elements from the real one (i.e. clasps etc.)  Having checked sizes by printing on copy paper and adjusting as necessary, I had intended to print them on rice paper, but my printer didn't want to play .... and then by chance I found some printable clear adhesive sheets in my stash - Result!

Picture of Tim's space suit for comparison.


If you would like to build and paint your own MDF brick man - you can find him (or her if you want to paint it as a girl) at Clevercut.co.uk.


Sunday, 5 August 2018

Experimenting with techniques

front side

I purchased this little box the other week from Indigoblu, along with some stamps.  I also have a canvas apron to paint along with some similar canvas panels to paint and attach to it - so I thought it would be good practise to try the stamps etc out before I tackled the apron.

The idea was to start of with a crackle finish, but this didn't turn out quite right, so nothing ventured nothing gained, I proceeded to try and get a distressed effect using paints.

second side
 I wanted to experiment with rice paper.  I stamped onto the rice paper with versamark, and then adhered it to the box with slap-it-on.   I then painted the images.

third side
 I tried out a bit of stencil work with inks and texture paste.  The paint drips were done with texture paste, then painted and finally versamark and ultra thick embossing powder applied.

Fourth side

I applied versamark to the rose, after I had painted it and UTEE as with the paint drips.  I used the same technique on the bottles on the front panel.

The top
 The butterfly on the top was created with texture paste through a stencil.  When dry I replaced the stencil and painted various colours through it.   I then applied versamark through the stencil and added a few coats of UT embossing powder.

another view
I found a stencil in my stash with the word Art on it , which was just right for the front.   I used a dauber and a black ink pad.  I also used a "splodgy" stencil and ink on the ribbon.  (Wasn't sure if it would run or not - so sealed the ribbon with pva glue.

the inside

I painted the inside with Pebeo DYNA orange/yellow iridescent paint.  Not a colour I normally use, but perfect for the inside of the box and lid.   It also married up well with the ribbon from my stash.


and finally a close up of th lid showing the embossed relief butterfly.   I must admit it looks fantastic in real life, and the grey shadow around the edge doesn't appear quite so wide, but helps with the 3D effect.

Definitely an experimental piece using different paints, inks etc.

Monday, 2 July 2018

MDF Biplane


I got around to painting the other biplane in the kit I bought, and decided to go for two shades of blue from my Amsterdam paints.   However, I couldn't resist prettying it up with some roses ....... So here was have it a "girlie" plane!


Sunday, 1 July 2018

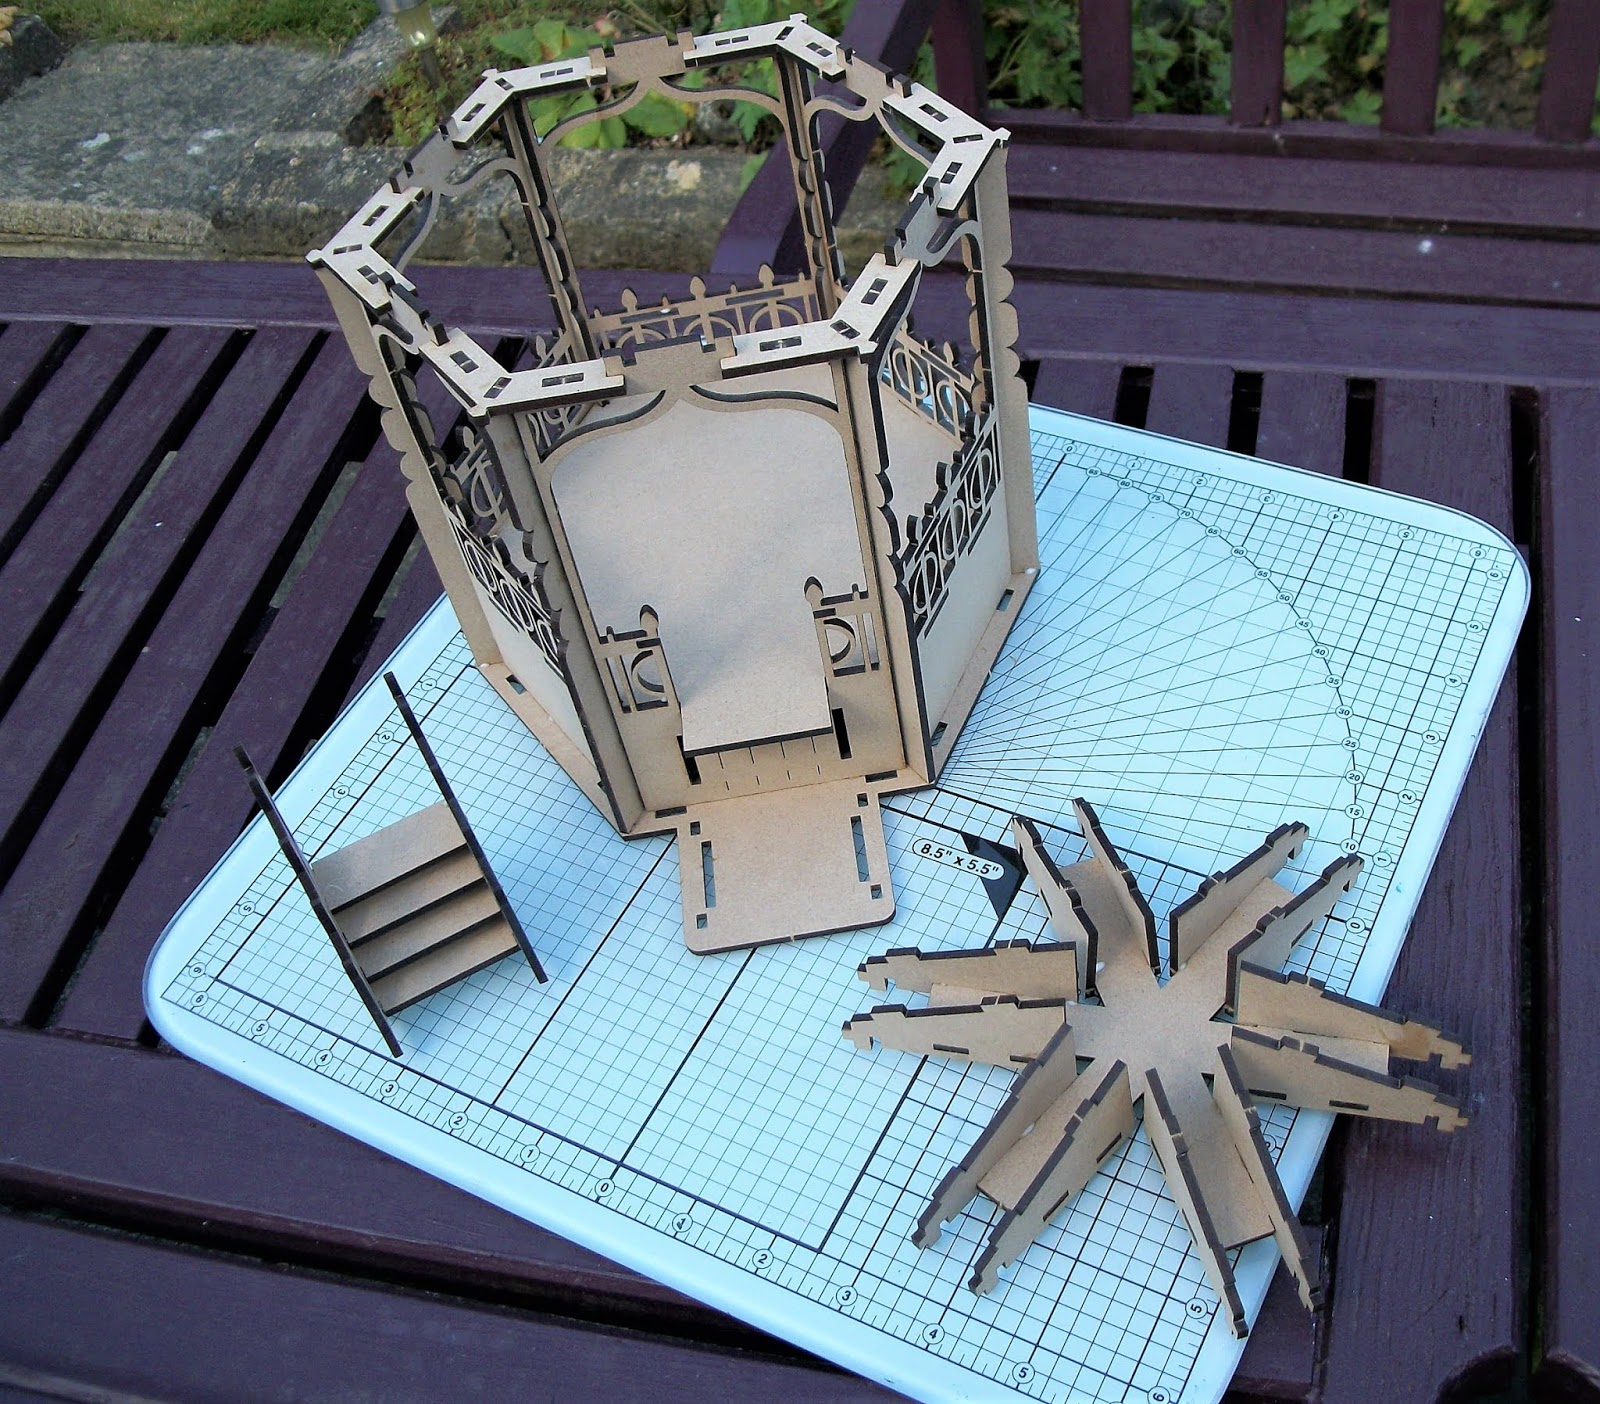
MDF Bandstand


I had a lovely time building this bandstand, and then painting it, (though I confess the painting was a tad tricky at times, as you had to build it first and some parts were a bit difficult to reach).


I can't remember all of the paints I used.   The creme colour was an Amsterdam paint;  and the gold was a pentart paint, and another one, and I think the blue was too.   The green was a mix of Amsterdam paints and Indigoblu paints.

Friday, 22 June 2018

MDF Birdhouse


Another of my MDF Models    This one was painted with Pebeo paints and two shades of blue Amsterdam paints.

I used Golden Fibre Paste for the texture on the "straw" roof.  I painted a vine and leaves with Indigo Blue Olive Waistcoat, and created some little flowers from FMM Air Dry Clay.

Thursday, 21 June 2018

MDF Models


These are the first of a few models I have been working on.   They are from Clever Cut.  You have to build them yourself and then paint them.

So far I have built to jeeps and two biplanes, but have only got around to painting two of them so far.  I did make the mistake of gluing them complete together ..... it would have made life a little easier if I had not stuck the seats in the jeep and not stuck down the supports on the wings of the biplane, as it made painting a little difficult.    I normally think about this when I am building them, but think I must have been tired and not thinking properly .... you live and learn.

They were painted with acrylic paint mainly Amsterdam paints, but the green of the jeep was IndigoBlu Junk and Disorderly paint in olive waistcoat, which was absolutely perfect for the jeep.  The silver paint was from DaliArt.

Not sure what colours to paint the next two.