Going Green Blog Background

Showing posts with label Sheena Douglas Stamps. Show all posts

Monday, 23 May 2016

A stamped Card

Now, those of that you that know me please don't faint - I have actually made a card without using Craft Artist!

I confess there was a reason - I needed a new printer. and although it had arrived an was set up, I wasn't sure how much ink there was in the cartridges that come with it.

So I decided to use one of Sheena's stamps - Clematis from her Torn Paper range.


It was very relaxing sitting and colouring for a change.   The image was coloured using promarkers and Spectrum Noir pencils, and a distress ink on the background, applied with a Clarity Brush.

I then created a little sentiment using one of Leonie's masks and more of the distress ink

I then decided to try to give the image and sentiment a bit of oomph!   I added stickles to the centre of the flowers, and then did some clear embossing on the flowers and the sentiment.  (confess the photo doesn't do it justice, but it is quite effective in real life.

Friday, 12 June 2015

Mini Chest of Drawers

Top
At last I have finished this little chest of drawers, which got thrown in a corner after I had gessoed it, as the wood of the drawers refused to fit!    I finally took the sandpaper to the drawers and applied some glide stuff that I had (from Lakeland).

The whole thing was painted with Pebeo Black acrylic and then I used versamark and Sheena Douglass's corner orchid stamp and heat embossed it with some burgundy powder.  I the painted the image with variious Pebeo DYNA iridescent paints to reflect the colours I used on the drawer fronts.


Front
I couldn't decide what colour to paint the drawers - so ended up painting them in both colour ways that I liked.

Prior to applying the black gesso I applied some redundant peel-offs for the little detail on the drawers.

Again using the Pebeo DYNA iridescent acrylics, sponged on with a bit of kitchen scourer.   Colours used are:   Blue/Green, Green/Blue, Yellow/Green, and Precious Gold.  For the red drawer:  Red/Blue, Orange/Yellow, Bronze and Precious Gold.

The knobs were done with Pebeo Gilding wax.

Another view with drawers open
The measurements of this little wooden box are 4" high and the top is 3.3/4" square.

Wednesday, 26 March 2014

In the Den

My eldest granddaughter's school had a fire, so at the moment the girls are taking turns going into school for lessons.  Today was one of her "home" days, so naturally we took ourselves off to the Den to do a bit of crafting.  It was a tad cold out, but we were snug in the Den.

faux leather
I made some faux leather (yesterday), using one of Sheena Douglass's embossing folders, and today I coloured it up.  Having done the basic colouring with ink various distress ink pads, I then went in with  the mown grass distress ink, using an ink duster brush to colour the leaves.

I cut out the various sizes pieces, and glued them to the tin I had prepared .  Then added some gilding wax along the edges, and a small wooden butterfly which also had gilding wax applied (mainly so that I knew which was the opening side of the tin!)

It was quite difficult to cut the shapes to fit the tin,  I am going to cheat with the lining on the inside and do some printed faux leather with copy paper using CAP2 


Finished tin

The original tin, which had black gesso applied before the faux leather.

As it was quite difficult to cut the pieces to fit, as I have some more of these tins, I may try a different technique and either using modelling paste and do some altered art with that, or maybe try using up some of my papers and do a sort of decopatch finish.

My granddaughter was obviously "playing" along side me.  She did some more to a project she started last week, working on a stationery box that a craft friend had given me for her bedroom.  It is still work in progress.  I am not sure whether she is going to do some other decoration on it, but it needs some varnish on it.

Granddaughter's Stationery Box

She then tackled started another project, whilst waiting for the box to dry.  This is also work in progress. She painted the wooden plaque first with a little tinted gesso, and them stamped the fish, water and lily on in Stazon.  She then painted them with Luminarte Primary Elements and the clear glaze medium.  I believe she is going to put some sort of words on it and then varnish it.   I am not sure if she is going to paint the other side, so that she can have an alternative image on that.


Wooden Plaque

So all in all a productive day in the Den.

Sunday, 15 September 2013

Hibiscus Revamp


Inspired by watching Sheena Douglass this morning, I decided to re-vamp one of my cloud clay pictures this afternoon.
 
As you can see from the next picture the original "play" was created using the hibiscus stamp, which was painted with acrylic paints.   I wanted to "bling it up a bit" and initially used some gilding wax.  I still wasn't really happy with it - and it was in the Den awaiting some inspiration,
 
Well today was the day I decided to repaint it using the Luminarte Primary Elements.  I wasn't sure if they would work over the gilding wax - but Yes, they worked.   It really has brought the picture to life.


Below is another photo taken with the flash, which has caught the "bling" of the mica a bit better.  It still doesn't reflect the effect that you get in the flesh so to speak.


Saturday, 27 July 2013

Revamp and more Cloud Clay flowers

the tilting board - paint fusioned
 
Many moons - nay, years ago - I made myself a tilting icing block for my cake decorating.  This was when extension work was all the rage, and you need to tilt your cake away from you to pipe the base of the extension work, or do embroidery so that it layed on the cake; and toward you for piping the fine pipe lines.
 
It was made from some off cuts of wood I bought at the local handiman store, some strips of square wood, and a length of piano hinge.  It has two pieces of wood that "live" inside the board and give me the choice of two heights.
 
For years it has remained unpainted (always intended to do it but never got around to it).   When I didn't do quite so much cake decorating and started using the computer more, it became a slope for my keyboard!  Having trained as a touch typist on the old manual computers originally, I wanted the keyboard to slope.  Now that I use the laptop most of the time, I have got used to typing "flat", but when using the main computer, I still prefer to have the keyboard at a slope - much less strain on the wrists!
 
At last I have got around to painting it.  Black gesso as a base, and then fusioned using Sheena Douglass Wild Rose stamp and Rose stamp, with some freehand leaves.  There was also a little bit of painted decoration on the ledge, but when I gilded it most of it was obliterated, but you can just make out some little roses.
 
Tilted board with large prop, and smaller prop also shown
 
I have at last got a new supply of Cloud Clay (from the Craft Barn).  It is like gold dust and the Craft Barn is the only place I know stocks it, and have waited patiently for it to come back into stock!   I have tried using stamps with other light air dry clays, (i.e. Fimo - which is great for modelling, but just doesn't work in the way I wanted to used it.)

small canvas with hibiscus blossoms and leaves and a butterfly using cloud clay
 
The advantage of the cloud clay is that you can roll it out, stamp into it, and then immediately cut the stamp out from the clay, and shape it as you want before leaving it to dry for a short while.  The recommended time is about 12 - 24 hours, but with the current hot weather, it is dry enough to paint in a couple of hours!
 
The flowers and leaves were made with the last of my white clay (which was beginning to get a bit "past it" as it was a couple of years old, and the butterfly was made trying out the new black cloud clay that I bought when I bought my replenished supply of white.  
 
Not quite so please with this as my previous attempt.  It was an experiment using paint fusion stamps, and attempting to use the paint fusion technique on them, that didn't quite work as I wanted to, but you have to try to see if it will work don't you?   I think I shall go back to using Sheena's fantasy flower stamps for this technique.

Saturday, 22 June 2013

That Canvas - a better picture

Just a quicky tonight - just thought I would post a better picture of the canvas, now that it is up on the wall!


A3 Canvas


 and this little one is up on the wall too:


C6 Canvas

Sunday, 2 June 2013

Altered Art and a fantasy fusioned box.

the finished result!
 
This was an attempt at something a bit different, using a freebie!    As you can see it started life as cigarette case.  Well as soon as I saw it I decided it was just begging to have something done to it.
 
The tin was coated with a mixture of black gesso and modelling paste to try and get rid of the texture on the tin, at the same time it was textured with a "combed" palette knife across part of it.  It was then overpainted with primary elements.  I stamped the violet on to the tin and outlined it with pebeo gold vitrail outliner, and filled it in with fantasy paint.  The leaves and circles were done freehand.  I then edged the tin with gold gilding wax, and added a bit more in places to "distress" it, and then varnished it.   (The cigarette case is marked as a "Limited Edition" - well mine is definitely a "Limited Edition" !)

before and after


box and lid
 
My new Sheena Douglas Floral stamps arrived this weekend, and of course I had to play.  I had this box in the Den, and decided to use that.    A crackle finish first with dark green background and  a pale blue mixed with a bit of green primary elements mixed in with it, to give a bit of variation in colour.  Daffodil stamped on to lid, and also onto a piece of card.  Painted with acrylics, and then overstamped.  A touch of gold gilding wax to the edges of the box, and also a little bit on the daffodils.  I wiped the excess wax on my fingers over the box for a bit of extra distressing.


top of lid

Monday, 8 April 2013

a selection of recent cards

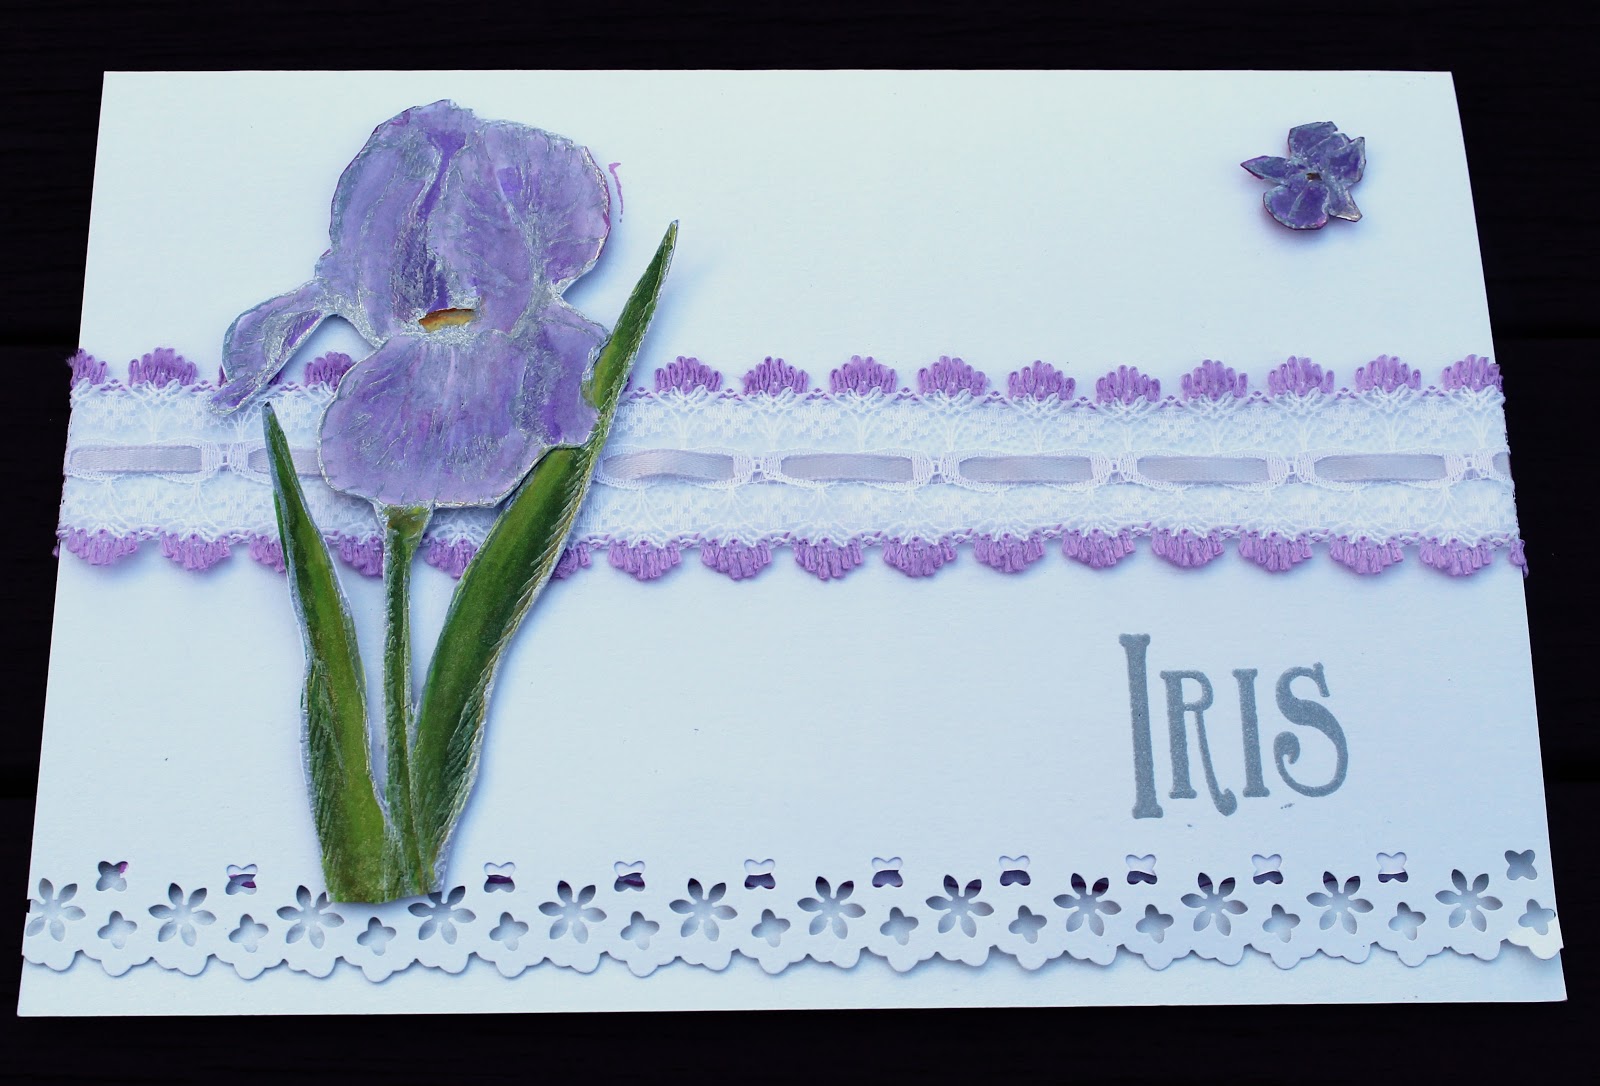
The title says it all really - most of these have been created in Craft Artist 2, apart from the Iris card which was stamped, using one of Sheena's stamps.
 
Easter Cards

image printed out twice and decoupaged

the background was supposed to be a self-coloured trellis, but something went wrong,
but I rather liked the "wonky background"  (main image from Froufrou)

Touchy feely card for elderly blind aunt
 
using the Party Paws digikit


insert for Connie's card