Going Green Blog Background

Showing posts with label gelli plates.. Show all posts

Thursday, 2 May 2019

Gelli plate playing


original landscapoe

I have had a gelli plate for yonks and never used it, although I have used my smaller ones.   The other day there was a demonstration by Barbara Gray and Mike Bossom, where they swapped place and Barbar tried encaustic art and Mike tried the gelli plate.

It was a fascinating show, and mike used some encaustic art techniques on the gelli plate.  So inspired, I had a go.    I did have a mini practise on one of my small gelli plates, following wht Mike had done (see image further down).  However, this was trying to create a landscape, following his demo.  Not bad for a first attempt, but when I chanced to turn the picture upside down I saw a leeping fish.

landscape turned upside down

I then swiped the plate again as there was still quite a it of paint on the brayer and although "muddier" this was the result, after I had drawn a few random lines into the paint.


Originally I thought this was a bit "rubbish", but the more I look at it I can see a landscape with a bridge.   I shall keep practising! 


Finally this was the little trial I did on a small geeli plate, doing exactly what Mike had done on the tv demo - just brayering on red and orange and then make marks with a sponge, a come and a circular piece of spong..

Monday, 19 June 2017

Gelliplate printing

I went to an open day at Clarity Stamps on Saturday with my daughter, and came home with loads of inspiration and ideas to try out (as well as giving the credit card a slight bashing - well more than slight actually!)  However, after a really rotten week, of computers failing to proceed, (thankfully we did sort it) and also buying a new laptop, which arrived with a busted screen, so had to be returned I felt I needed to treat myself! (Even Saturday started off by going pear-shaped in as much as my alarm didn't go off, and I only woke up five mins before my daughter arrived to pick me up! - oops!)

Well today it was so hot, I didn't want to do much, so I had a little play with my new inks, and an idea using the mini gelliplates that Sam Crowe demonstrated.

I tweaked her demo as my first attempts came out rather too dark for the effect I wanted, as I was using my new stamp pads which were rather "juicy".    I put a little colour from the stamps on my mat, and "dipped" the gelliplate into it and stamped onto an ATC size card.   The example on the right was a straight stamp, and the card on the left was using the same colours but with a slight spritzing of water, before picking up the colour with the gelliplate.


I then got some of my new stamps out to create a scene - really pleased with the one on the right, as I managed to get a "white space" from the gelli print, which has really created a great snowy landscape, and even looks like a stone wall at the bottom.

Tuesday, 18 April 2017

Granddaughter's "Thank you cards"

I introduced my youngest granddaughters to the art of gelli plate printing the other day,

The first three were done by the 8 year old

printing through lace
stamping again with residue on gelli-plate

stamping on to gelli-plae to remove colour
 The next three were made by the 5 year old

stamping through a leaf template

stamping using the residue on the gelli plate

stamping into the gelli plate (she did have a little problem with the edging, but then I taught
her how to turn the card round to do it!
The last few were made by the 10 year old - just playing - as she didn't have any thank you cards to make!


 and finally .... the one I did initially to show them how to do it!


Tuesday, 29 November 2016

Christmas Cards Part 4


A few more variations on a theme using the mini gel plates, distress inks, some stamps, a micron pen and a bit of glitter!


Monday, 21 November 2016

Christmas Cards 2016 part 3


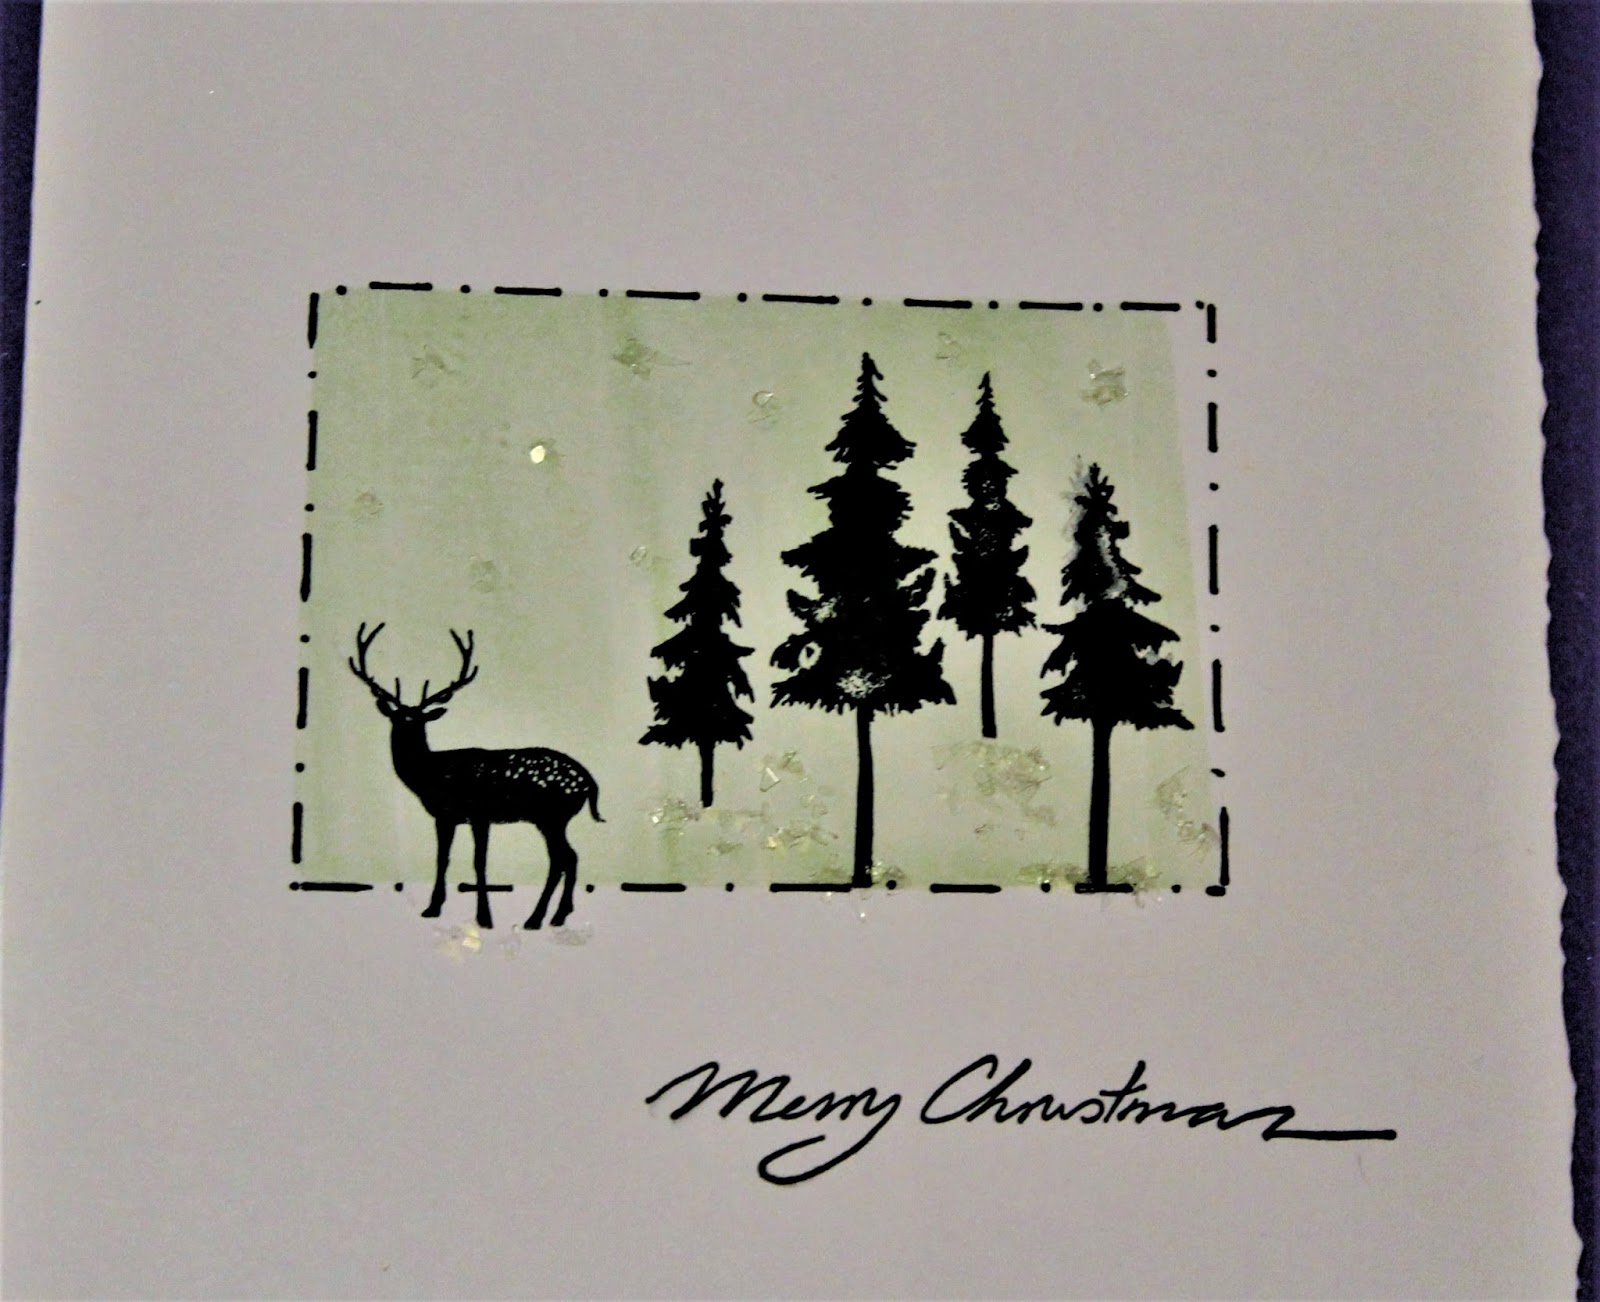
Just a couple today, although I have made more than one of the one below.    As you can see I am really into using my Gelli plates for backgrounds - it makes it so simple to stamp a background.  I have had this deer stamp in my stash for sometime, I think it was a freebie on a magazine.  It was painted with memento inks


Sunday, 20 November 2016

Christmas Card 2016 part 2


Today's cards were created using Clarity stamps, Clarity mini Gelli plates, a black micron pen, and the sparkle overlay pen


Saturday, 19 November 2016

Starting the Christmas cards ...


This year I decided that I would try and use some of my dies and stamps for my Christmas cards instead of creating them in Craft Artist.  So over the next few days o(r maybe weeks) I will share some of my makes.

Today I am showing a few made with dies:  (I apologise for the quality of some of the photos, but Microsoft in their wisdom upgraded their photo editing programme, so some of the photos might not be as good as I would have hoped as they were all taken indoors in artificial light and I had a problem cropping and tweaking them - hopefully I will get to grips with the new programme by the time I have finished my cards!)


Joy


 Blue Joy again on a background created with mini gelli

Star wreath with circular gelli min background

Star wreath again but over-painted, and no background

Wreath die and bauble die on circular gelli background

Wreath die with blue gelli background on a green card, with Clarity stamp images


Snowflake on square gelli background

Snowflake again on hexagonal background


Star with square gelli background and snowflake stamp corners


Woodland heart on square gelli background
 Just to finish the descriptions under the photos, those using the mini gelli plates and memento inks. were edged with a black micron pen, and sentiments added with various stamps.

Saturday, 5 November 2016

Something Completely Different!


I had fun today - just playing!  I watched the Colourlicious Shows on Hochanda yesterday, and was inspired by the use of gelli plates for block and reverse printing.

Well I didn't have the large gelli plates that she was using, but I do have some mini shaped ones from Clarity, and I had some blank tea towels! So nothing ventured, nothing gained.

I tried doing the block printing the way Jamie showed, but found it a little awkward, so using the little gelli mounts, I used them like a stamp.  She also used a brayer on the gellis, but I found that made the background too light for the effect I wanted, so I just used a sponge on them.

I do have some of the Indian wooden block stamps in my stash (albeit only a few) so I used what I had and did the reverse printing, by stamping into the gelli and removing some ink, before stamping on the tea towel.   I also did some ordinary stamping with the Indian stamps, as well as using a couple of stencils (a random leaf effect one near the centre and Andy Skinner''s Fossil stencil  to fill in the triangles around the edge.   White "gaps" and the edge then just had the textile paint applied randomly with a sponge.  For info the gellis I used where the triangle, hexagonal and oval.

This is sort of work in progress at the moment, as I haven't decided whether I want to fill in the rest of the white of the tea towel yet.