Going Green Blog Background

Showing posts with label Acrylic paints.. Show all posts

Thursday, 30 January 2020

Brick Man Part 2


In addition to Dr Who, I also made a Harry Potter figure.  Again painted with various acrylic paints and Posca pens.  Card added for collar and also used to create his glasses.  Hair, Golden Snitch and Hedwig the owl were created in Air Dry clay


sitting

golden snitch

Hedwig

Wednesday, 29 January 2020

Brick Men Part 1


standing


As regular followers will know I have been a bit quiet on the blog recently, and that is because I have been working on a couple of secret projects for my daughter's birthday.

There was a special offer on MDF models etc recently on a friend's website.   I said I didn't need anything and my daughter said she was thinking of buying a couple as she fancied a Dr Who and a Harry Potter figure.  Thankfully she forgot to order them ...... but I had duly noted her wish and I bought them and have been secretly building and painting them over the past few weeks.    Fortunately for me (but not her) she has been quite ill, and hasn't visited quite so much recently, so I only had a couple of mad panics to hide them when she visited unexpectedly!.


sitting
The model kits are from Stamps Away.  I painted them using various makes of acrylic pain and Posca pens.  I added some collars using card, and also a cravat using scrunched up tissue.   I also knitted the scarf -now that is a feat in itself as I hate knitting (and as my daughter remarked when I gave her the model - "ah, that is why your knitting bag was out the other week!).   I created the hat and the hair from air dry clay, as well as the sonic screwdriver,   Yes I did my research on The fourth Dr Who, and discovered what his sonic screwdriver looked like!

I even amazed myself when I painted his face as I think it actually looks like Tom Baker - more by luck than judgement I confess!

Tuesday, 19 November 2019

Nordic figures


I had so much fun painting these.  The inspiration photo was originally in green, but I wanted ice blue.   The original photo had holly leaves as decoration, but that wouldn't have worked in blue, so I used some Cardi-o snowflake stamps instead.   I made add a little sparkle to the snowflakes with a glue pen and some glitter, and possibly add some to the snow effect I have createdon the bases.

The original inspiration from the manufacturers

Monday, 18 November 2019

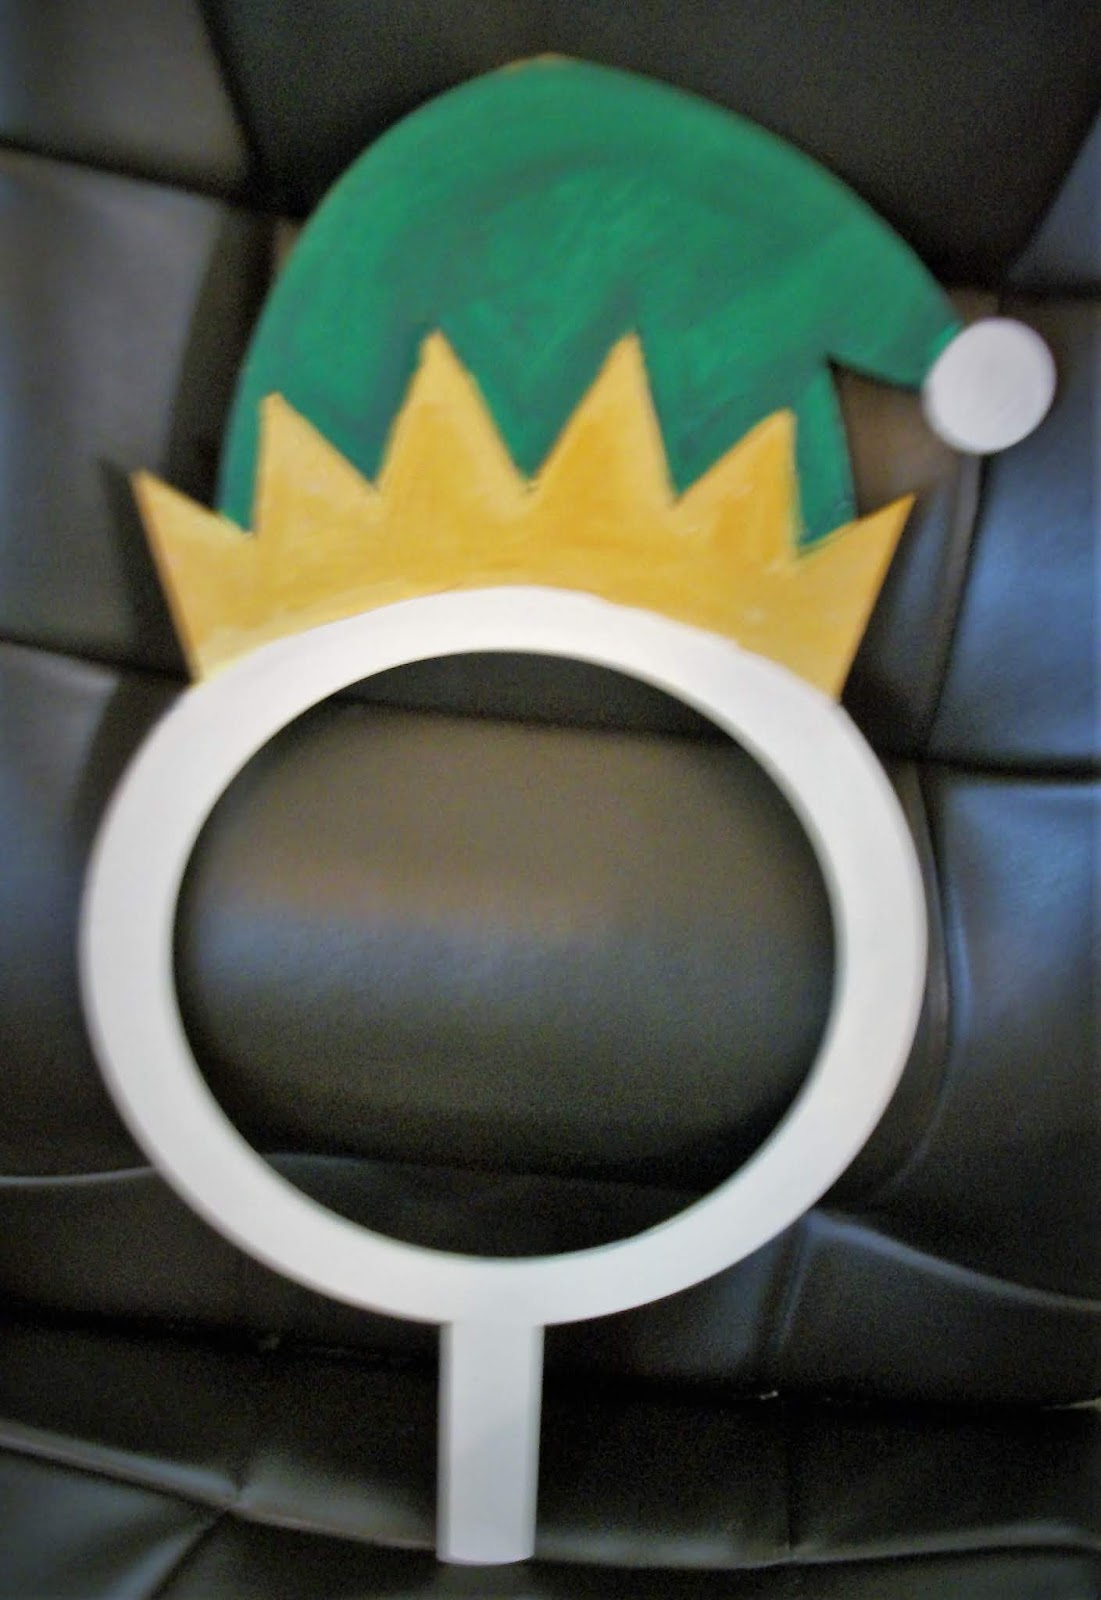
Selfie Frames .... a bit of fun.


I took time out from Christmas card making at the weekend.   I couldn't resist when the parcel arrived , I just had to make a start on them and I had fun creating these.   Selfie frames for Christmas.   Looking forward to the grandchildren using them - well all the family really.   I am still trying to decide whether to add some hair to the Elf

My crafting mojo has been awol for a while - so these were just the think to kick-start it again!

work in progress on the elf


Tuesday, 22 October 2019

Work in Progress - Robots


 I thought I would share a little glimpse of work in progress on a little project I am working on.  Did I say little - erm well maybe strike that.   I started this a couple of weeks ago and sort of lost my mojo, and the items have been sat on the table for a couple of weeks.

It does take a while, as I needed to paint the back and the fronts, and I began to lose the will to live!  (Crafters will relate to this as we are an impatient lot and want everything to dry immediately)?

I finally found some mojo yesterday and finished painting the reverse sides (well most of them - I have found a few I missed, which will be rectified in due course).   I then started to add some decoration - the fun part.   I used Posca pens, Craft Artist Glitter Touch, and some Nuvo drops.


Since taking these photos I found my stash of googly eyes - the heads are now coming to life.   The next job will be to add the arms and legs to the bodies.   The aim is to create a sort of game for a little lad, so that he can mix and match bodies and the heads.

As you can see this is going to be a longish project, and once I have finished all the fronts, I will really need to attempt some sort of decoration to the back, and then varnish the whole lot.    So watch this space!


Thursday, 2 May 2019

Gelli plate playing


original landscapoe

I have had a gelli plate for yonks and never used it, although I have used my smaller ones.   The other day there was a demonstration by Barbara Gray and Mike Bossom, where they swapped place and Barbar tried encaustic art and Mike tried the gelli plate.

It was a fascinating show, and mike used some encaustic art techniques on the gelli plate.  So inspired, I had a go.    I did have a mini practise on one of my small gelli plates, following wht Mike had done (see image further down).  However, this was trying to create a landscape, following his demo.  Not bad for a first attempt, but when I chanced to turn the picture upside down I saw a leeping fish.

landscape turned upside down

I then swiped the plate again as there was still quite a it of paint on the brayer and although "muddier" this was the result, after I had drawn a few random lines into the paint.


Originally I thought this was a bit "rubbish", but the more I look at it I can see a landscape with a bridge.   I shall keep practising! 


Finally this was the little trial I did on a small geeli plate, doing exactly what Mike had done on the tv demo - just brayering on red and orange and then make marks with a sponge, a come and a circular piece of spong..

Friday, 21 December 2018

MDF Harry Potter


Regular followers may remember the Tim Peake Brick Man that I created.  Well my son couldn't decide how he wanted his painted the other day I had another bit of inspiration and as he girls love anything Harry Potter, I decided to try and paint my MDF man to look like him.
It was quite interesting researching what colours he should be painted and I discovered that in the earlier films the stripes etc were more scarlet and yellow, and in the later films they were burgundy and gold - who knew?

I created his hair from hearty clay and I made his spectacles and his colare out of card. to make them a little more 3D.   I also found an owl mould in my ancient cake decorating stash, and created a white owl from Hearty clay too.  


Thursday, 11 October 2018

MDF Tea Light covers


Another little Halloween project.  Very simple and easy to put together.  Painted with acrylic paints.


Saturday, 22 September 2018

More Spooky - Work In Progress


I have been a bit busy with lots of work in progress when I have had the chance. (Why does life get in the way of crafting?  but I suppose we have to do housework and gardening etc.  !)

However, I thought I would share a sneaky peak of work in progress of this project, which is a book box, just in case you thought I was ignoring my blog.

More later as I get around to finishing the outside (and the inside).

Wednesday, 19 September 2018

Spooky!


This MDF skeleton arrived yesterday, and I confess I just had to start painting him.  Basically just white gesso lightly all over him.  Then I went over some of the outlines with a pencil to create some shade rubbing it with my finger.  I then overpainted the bones with white acrylic paint, and added more shading with a a little black added to the white.   I then went over him with Pebeo Phosphorescent gel.

I may need to do some more to him regarding shading, and possibly adding some more of the gel  when my eyes are better to enhance the detail, as I really want him to glow in the dark;  but I have plenty of time before Halloween.

As you can see he is quite tall - so finding somewhere to take a photo was difficult - so he got hung up on a branch of my pyracantha !

Monday, 27 August 2018

More Barge Painting


A pal saw the jug I had painted the other week and wanted one like it ..... so off she trotted to Wilkinson's and bought this green jug.    Slightly different design to the one I bought as it has an embossed butterfly on it.  I adjusted the design for the front and painted a similar design to mine on the back.


Hope she likes it!

Tuesday, 21 August 2018

MDF Wishing Well


I had fun with this little project.  It was another of the Clevercut models.  Whilst I was putting it together, I applied a coat of Powertex, in the hope that it made it more weatherproof. (I did post a sneaky pic of that earlier)


a glimpse of the powertex undercoat - looks awful doesn't it before the painting!


As you will see I have taken a few photos in various locations, the one below is its final resting place (for the moment).

The well was overpainted with various acrylic paints, and the base and bucket had some ultra thick embossing powder applied randomly to give a weathered look.

The roof and the inner surround to the well were covered with air dry clay using some PME mats to create the texture - cobble stones for around the well, and stone wall for the roof.   Black paint was applied to the textured clay, and then immediately wiped back with a wet wipe.  (A fantastic technique learned from a demo by Kathryn Sturrock).   I also applied a little green paint and distress oxides to create a "moss" look, which also had some UTE powder added for texture.


Wednesday, 8 August 2018

Canal Barge 2


Here is the other barge - which I managed to finish this week.   Again just mainly photos, as basically self explanatory.


Was a bit cheeky and named it the "Lady Mags"  ...... well the barge is for me!   The "barge" painting isn't quite so good on this one as was trying to be a realistic like the jug I painted, but on a small scale, and trying to get a brush into do it was a tad taxing with my dodgy eyes.


Close up of the ornaments on the top - made from air dry clay as before.   This time I added a kettle - pretty pleased with how that turned out.


Wednesday, 11 July 2018

Wiondmills


I managed to finish painting my windmills today.    I am naming them Jack and Jill after the Windmills on the South Downs at Clayton.   Ok a bit of artistic licence with the painting, as Jack as a white cap, and Jill is a slightly squarer design of windmill in real life.

Below is a photo of one of the MDF windmills I built, before painting, and one of the white windmill that I repainted.  (I couldn't find my titanium white, and I really didn't like the finish - so it had a repaint today!

The black one will be going to my son-in-law as he requested one.


They weren't the easiest of things to paint, as you have to build them first!