Going Green Blog Background

Showing posts with label MDF Models. Show all posts

Thursday, 13 September 2018

Introducing MDF Tim - Spaceman


My latest project is complete -  MDF Tim Peake (as requested by my daughter).

view of one arm

view of second arm

back


sitting

I had a guide from a picture of a lego Tim, and also some pictures of Tim's space suit.   I had an inspiration for his hair - I modelled it using FMM Air Dry Clay - this proved a brilliant idea, as it can be removed.    When dry the hair was painted with various shades of brown, etc.

Work in  Progress - Face added with Posca Pens


I used Craft Artist to design his "clothes"  - taking the badges in and re-sizing them.  I created some zips.  I also took his name badge from his space suit, and then redrew it using a couple of elements from the real one (i.e. clasps etc.)  Having checked sizes by printing on copy paper and adjusting as necessary, I had intended to print them on rice paper, but my printer didn't want to play .... and then by chance I found some printable clear adhesive sheets in my stash - Result!

Picture of Tim's space suit for comparison.


If you would like to build and paint your own MDF brick man - you can find him (or her if you want to paint it as a girl) at Clevercut.co.uk.


Wednesday, 12 September 2018

MDF Train


I gave you a sneak peak of this the other week - now it is finished.  I must say I am pretty pleased with it.   I hope the recipient will be - but shan't know for a while as it is part of his Christmas pressie!


writing done with Posca pens


I thought I would share a few work in progress shots.

before painting and after having powertex applied

achieving the wood grain effect

The colours used for the woodgrain ....

...... and how the colours were splodged on before brushing out to achieve the wood effect.

Wednesday, 22 August 2018

MDF Train - another sneaky picture of work in progress


Just another sneaky peak of work in progress.  This will also be for outside (for my son-in-law) so it has been given a coat of bronze powertex.


I am currently waiting inspiration as to how to paint it ... but I also have a few other work in progress items.   As this will be part of his christmas pressie - there is no pressure to complete it just yet!


Tuesday, 21 August 2018

MDF Wishing Well


I had fun with this little project.  It was another of the Clevercut models.  Whilst I was putting it together, I applied a coat of Powertex, in the hope that it made it more weatherproof. (I did post a sneaky pic of that earlier)


a glimpse of the powertex undercoat - looks awful doesn't it before the painting!


As you will see I have taken a few photos in various locations, the one below is its final resting place (for the moment).

The well was overpainted with various acrylic paints, and the base and bucket had some ultra thick embossing powder applied randomly to give a weathered look.

The roof and the inner surround to the well were covered with air dry clay using some PME mats to create the texture - cobble stones for around the well, and stone wall for the roof.   Black paint was applied to the textured clay, and then immediately wiped back with a wet wipe.  (A fantastic technique learned from a demo by Kathryn Sturrock).   I also applied a little green paint and distress oxides to create a "moss" look, which also had some UTE powder added for texture.


Sunday, 12 August 2018

Sneaky Peek


I am being a tease today ,,,,,, can you guess what this is going to be?    Well I can tell you it is another MDF kit.  I want it to be weatherproof, so I put some ivory Powertex on it as I was building it.

So keep an eye out for progress.

Wednesday, 8 August 2018

Canal Barge 2


Here is the other barge - which I managed to finish this week.   Again just mainly photos, as basically self explanatory.


Was a bit cheeky and named it the "Lady Mags"  ...... well the barge is for me!   The "barge" painting isn't quite so good on this one as was trying to be a realistic like the jug I painted, but on a small scale, and trying to get a brush into do it was a tad taxing with my dodgy eyes.


Close up of the ornaments on the top - made from air dry clay as before.   This time I added a kettle - pretty pleased with how that turned out.


Tuesday, 7 August 2018

Canal Barge 1


I suddenly realised that I hadn't posted the finished barges  Not a lot of explanation - I painted them with acrylic paints.  

I thought the best way was to just show a lot of views.


I will explain that the little ornaments on the top of the barge were made from FMM air dry clay, just using my fingers and a paintbrush to hollow out the bucket and jug.  The flower displays had some offcuts of scourer stuck in the top ( the rough side)  and then some little "stamp-plonker" flowers added.   They were all made in white clay, then painted.   The "rope" embellishments came with the kit.


It now has pride of place in my son-in-laws garden, and it is names after his wife and daughter.

Monday, 16 July 2018

Another Jeep


I finally got around to painting the second jeep.

Sunday, 8 July 2018

Mini Vardo


Just a quick glimpse of work in progress on a mini Vardo.     I do love these models.  Once I have finished painting it I will show the rear of it, which even has shutters on the window.   As you will see this mini version also has a chimney.

The granddaughters want me to paint the roof purple ..... so watch this space as they say!

Well before this post was scheduled to be published, I finished painting the Vardo.    So here it is finished.  I kept it simple and used two shades of blue Amsterdam paints, and Indigoblu Fuschia for the roof.

I finished the decoration using Nuvo drops.


Friday, 6 July 2018

Christmas Lanterns


Yes I know it is only July, but I got sent these as an apology for the delay in sending out some other kits ... more of those later eventually.

However, I seem to have another model building addict in the family.   I had the youngest grandchildren to stay over the weekend, and settled down after the two youngest had gone to bed to build this ..... well their older 12 year old sister saw me get it out and asked if she could help.      Yes .... well .... I put the hanging frame together, and she built the lanterns!  (I did get to do part of one!)  She loved doing it and wants some of her own kits to build (this could become costly on my part - lol!)

Eventually I will get to paint it (at least I hope I will and she doesn't want to do it - lol!) when we have decided the colours as it is going to be for her Dad.   (Maybe I will treat her to another one so she can make it for her Mum).

Wednesday, 4 July 2018

Purple birdhouse


I had a pal visiting for a few days last week, and she loved my earlier birdhouse.  Well there were two in the kit. so I offered to make her one.   I asked what colour she would prefer and she said purple.

Well I took a bit of artistic licence with the purple, and used a couple of shades.  I also know teal is another favourite colour, so I made some roses and leaves from GMM air dry clay.  I also battled with that perishing butterfly die and managed to cut one out, and painted that too.  She is also a steampunk fan, so whilst looking for the veiner for the leaves, I discovered my Katy Sue cogs mold, and made a few clay cogs, and painted those with Cosmic Shimmer patina paints.

My pal also loves Pebeo DYNA paints, so I felt they had to be incorporated, and applied this to rood, which had had fibre paste roughly applied to it.   Her favourite favourite DYNA is blue/black - so I painted the stand with that!

Having thought that I had finished it and taking the photo above, I realised that it needed a little more decoration .... so the Nuvo drops came out!


Monday, 2 July 2018

MDF Biplane


I got around to painting the other biplane in the kit I bought, and decided to go for two shades of blue from my Amsterdam paints.   However, I couldn't resist prettying it up with some roses ....... So here was have it a "girlie" plane!


Sunday, 1 July 2018

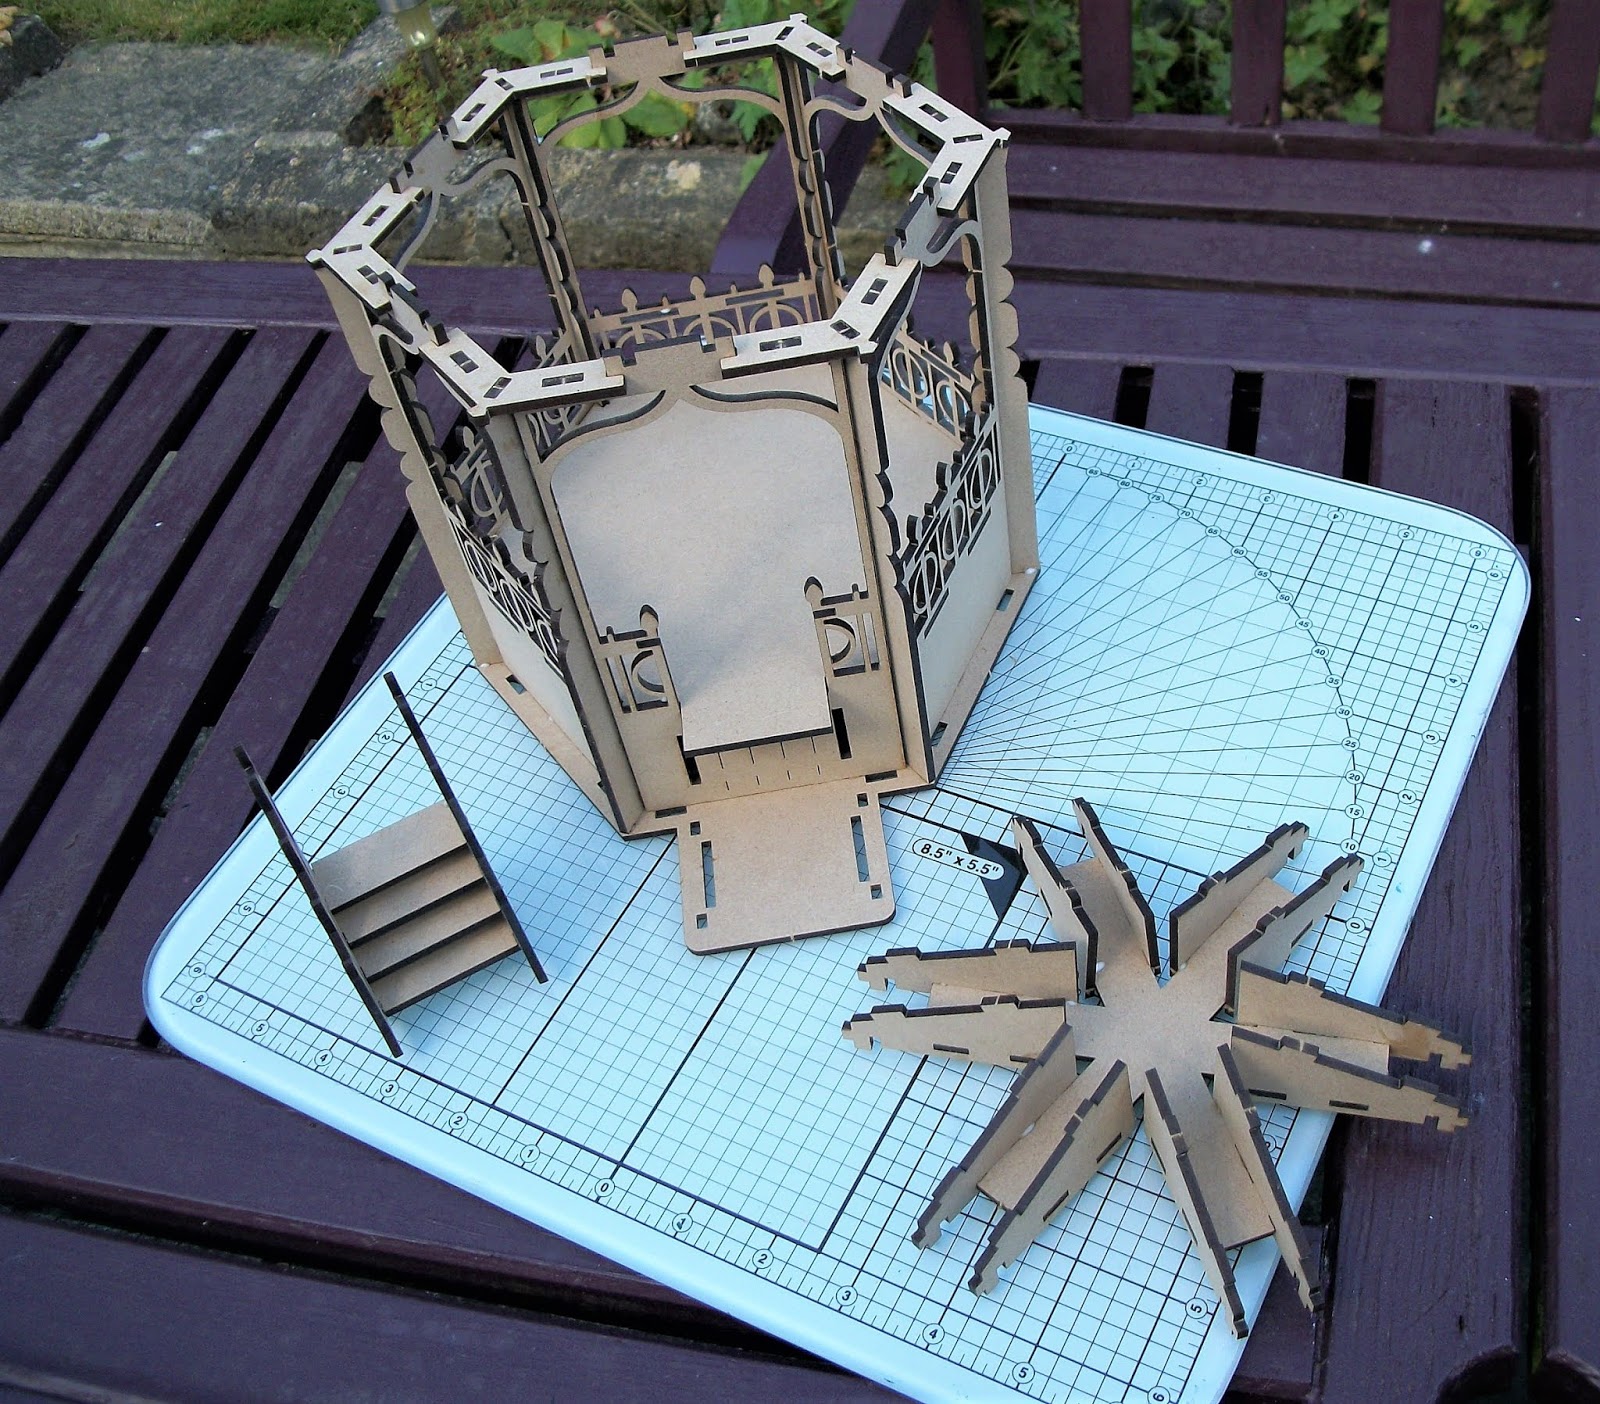
MDF Bandstand


I had a lovely time building this bandstand, and then painting it, (though I confess the painting was a tad tricky at times, as you had to build it first and some parts were a bit difficult to reach).


I can't remember all of the paints I used.   The creme colour was an Amsterdam paint;  and the gold was a pentart paint, and another one, and I think the blue was too.   The green was a mix of Amsterdam paints and Indigoblu paints.