Going Green Blog Background

Showing posts with label MDF Pebeo paints. Show all posts

Sunday, 30 September 2018

Haunted House


The light wasn't very good when I took this photo, so hope you can see it clearly enough.   Another of my Halloween Kits - I apologise that I can't remember the name, but there are no labels on the bags, all I can say is that I bought them from Hochanda.

The house is made so that a battery tealight will sit in between the front and the back, so I painted the insides of the two parts of the house with Pebeo Dyna fluorescent orange.   It does look effective with the tealight in it (although this photo is just taken with the flash on the camera. )  

As with the tombstone I used mainly Pebeo paints for this kit.  (Mmainly because I was up the garden in my Den, and all my Pebeo paints were up there and to hand; and as it was so lovely in the sunshine I was too lazy to walk back down to the house for any others!)

I have used the marbline spray again on the house, didn't quite go where I wanted it - but it looks quite effective in real life.  

I still need to work out exactly where the ghost is going to sit and glue him down properly, and I think the bat needs some "eyes".   I will try and take another photo in daylight and add it here.  I do find taking a photo is quite good as you can then see what need improving.

As promised another photo: 


Saturday, 19 August 2017

Christmas Tree Shelves ..... completed


Do you remember these?    


Well now they look like this:


I spent the afternoon, painting little angels, snowmen, deer, robins, trees, teddies and gingerbread men, and with the addition of some imitation snow (white gesso and cornflour) with some sparkle sprinkled over it, the shelves are completed.

another view

Wednesday, 16 August 2017

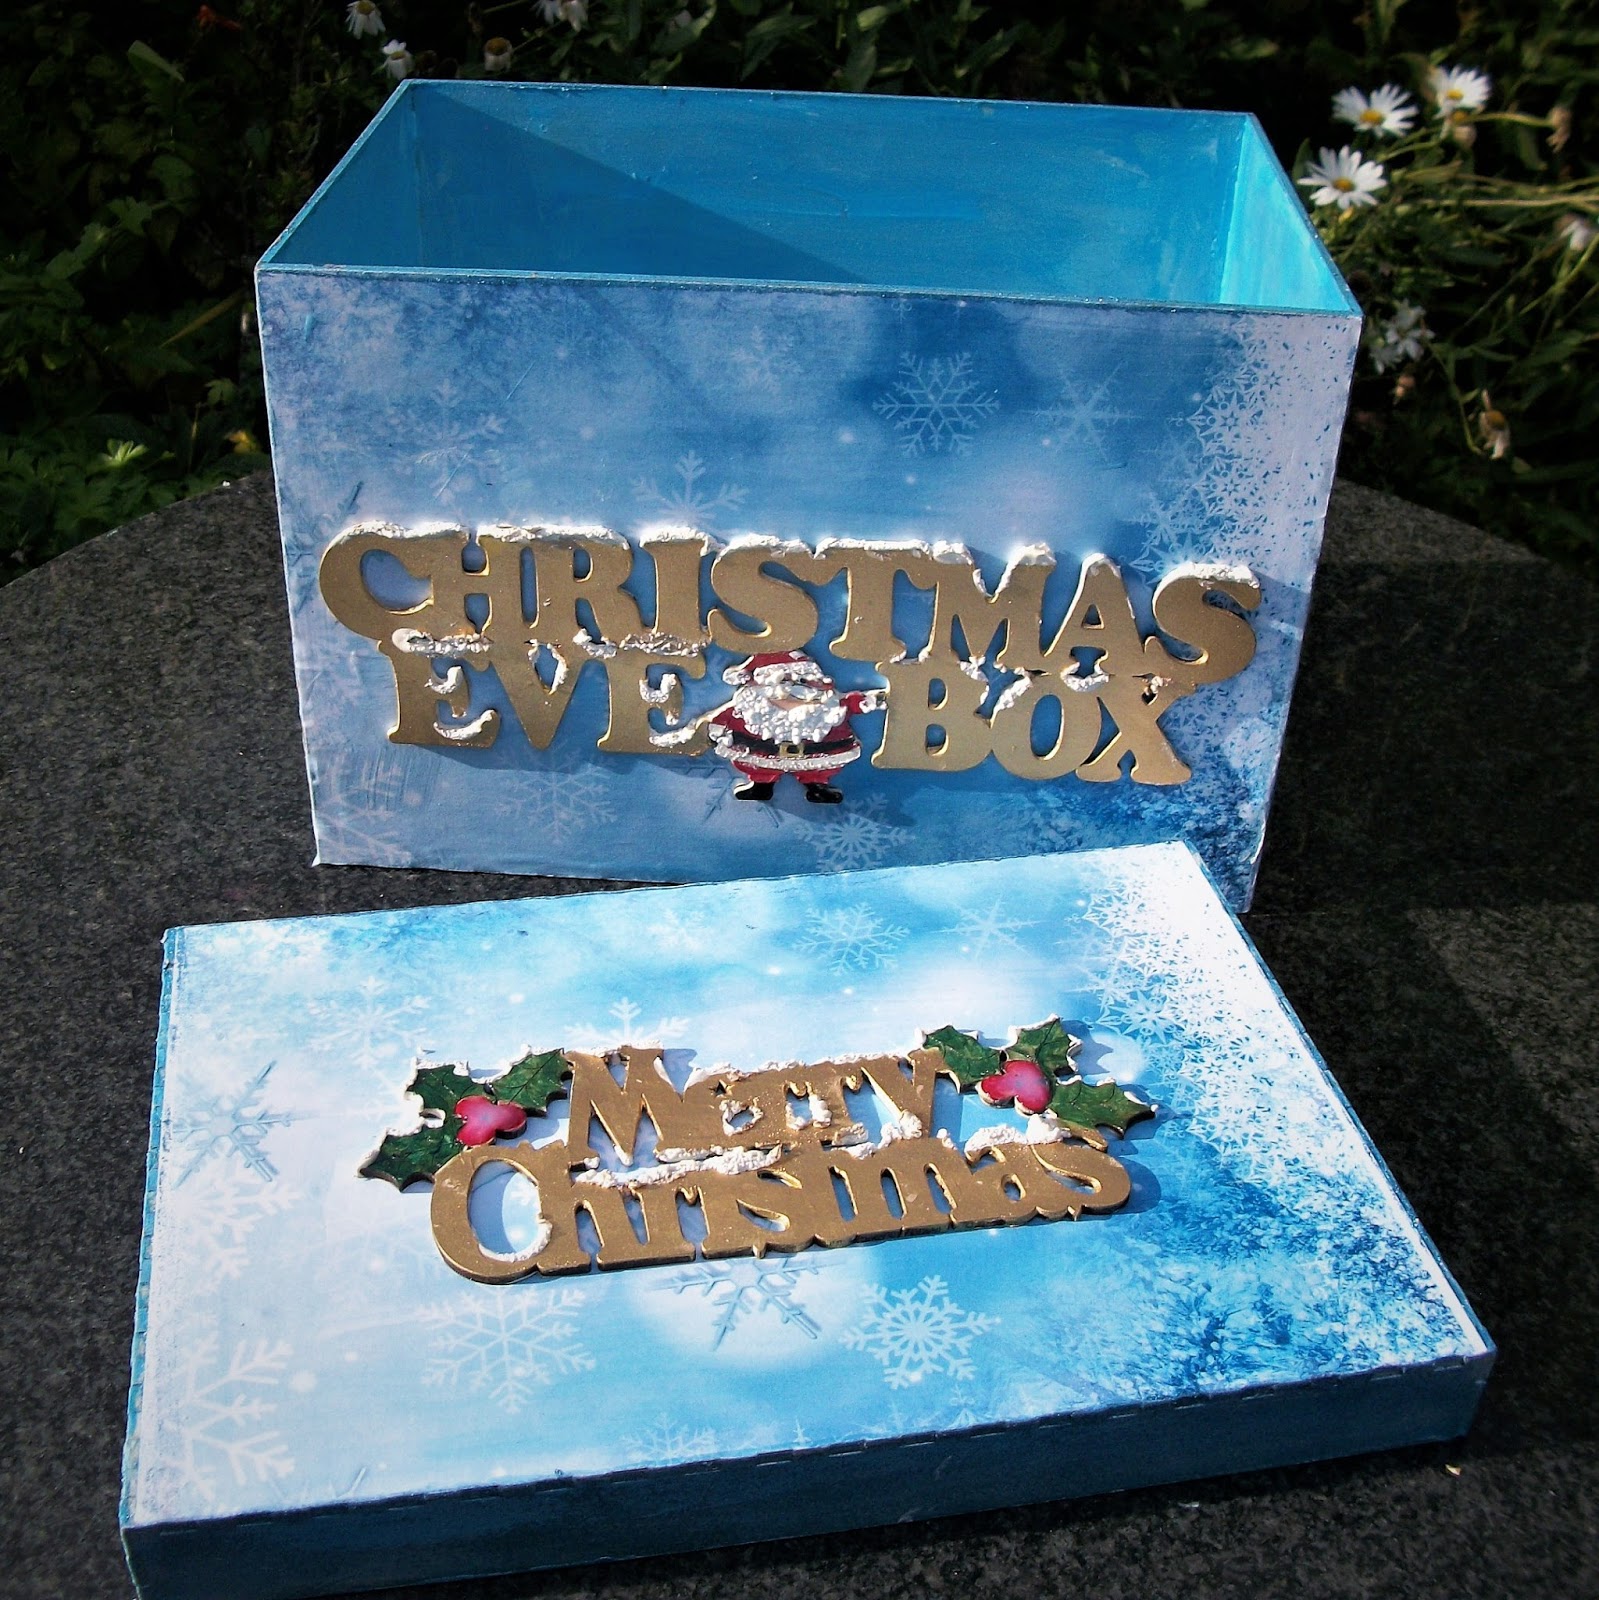
Christmas Eve Box

Finished Project

Sorry for all the Christmas project postings, but it has been so nice the last couple of days, have spent my time in the garden painting.

First build your box
My first job was to give the box a thin coat of white gesso, and then paint the inside of the box and lid, and edge of lid and the corner edges of the box, in case the paper didn't meet properly.   I used a blue deco-creme paint, and then went over it with pearl paint,

Next I printed off some freebie papers that a pal had created, and applied modge podge to the box to stick them on.  They then had a sanding block applied to the overhanging edges to give a neat finish.(Even the bottom of the base is painted).

I wasn't very happy with the edge of the lid, so I went over it with some sparkle kiss, and I also carefully applied a little of this to the corner edges and lip to the box.

another view

The next job was to paint the words.  I started to paint the letters, but wasn't quite happy with the result, so changed my mind and applied gold gilding wax.   I then painted on some eXpandIT 3-D foam for the snow and details on Father Christmas.  

I painted everything with Universal Medium to seal it, and attached the words, applying a little Glossy Accents to the holly berries on the top lettering

another view showing painted inside, and top decoration
(confess when I took this photo the glossy accents on the berries hadn't quite dried)