Going Green Blog Background

Thursday 29 December 2016

Hematite and Snowflake Necklace


Well the title describes it really doesn't it.   Square Hematite beads, alternated with  snowflake beads.  A Christmas gift for my son's girlfriend.

Wednesday 28 December 2016

Dream Jar


Photo of Jar taken with flash on camera

My daughter was going to buy a dream jar for my granddaughters for Christmas, but when we saw the small size of it compared to the price - it was a No No!

We decided we could probably make our own (albeit it wouldn't be in time for Christmas).    The other day she called round with a load of empty jars, (mainly for me to create some fairy houses with), and she said she thought this one would make an excellent dream jar,

I painted the inside of the jar with IndigoBlu super thick Slap It On, and then sprinkled some of the IndigoBlu Luscious powder pigments into the jar.  They were a little patchy, so I put more Slap It on on my brush and swirled the colours slightly.  I painted the lid with the Slap It On and powders as well.

Our original idea was to put one of the battery tealights inside, but I didn't think it showed up enough, so having bought some bottle lights, I stuck one of those to the inside of the lid.- Result!

The only thing I wish I had done was to add some Unicorn sparkles in some places, but I forgot I had bought those until it was too late! duh!

Here are some other views of the Dream Jar  (The jar is just under three and half inches tall)

Photo with all lights off

Photo with no flash against black background

Photo with no flash against white background

As you will see you get a different effect with different lighting and backgrounds.

Wednesday 21 December 2016

Experimenting with a stencil


I had a card to make for a man whose birthday is Christmas Eve.     I decided to use one of my new Sheena Douglas Swining Sixties stencils.   I applied Mixtion liquid paste through the stencil with a sponge, and when dry, brush on some blue and green Indigoblu luscious pigment powders.  I then stamped Happy Birthday using the new letter stamps from Barbara Gray (Clarity Stamps) and then outlined some of the shapes with a blue alchohol pen.

A bit of a departure from my usual style - but men's cards are so difficult! and I wanted to keep it fairly simple.

Tuesday 20 December 2016

Christmas Sweets


I felt in the mood to make some Christmas sweets this week.  Something I haven't done for years.  I used to make them regularly when I was teaching at adult education, as truffles were part of my last week of term demo (and of course the students all got to have a taste too)

Christmas pud truffles on a marzipan "plate"

Hazelnut logs with royal iced decoration

Hazelnut logs again with a snowflake decoration

The sweets in on of the boxes I made.
The sweets are very easy to make being a mix of cake crumbs, apricot jam and hazelnute paste, which when cool is rolled into a sausage shape, and wrapped in marzipan (just like making sausage rolls).  the roll is thenbrushed with chocolate to resemble bark and cut into log shapes (and a perk is eating the odd end shapes!).  

The "puds" were just balls of the mix with a placed on a circle of marzi with melted choc to make it stick and a little chocolate drizzled over the top, and decorated.   You could of course just roll them in cocoa powder or vermicelli.

Monday 19 December 2016

Fairy Houses and a Paint Pot


 I have been playing with the powertex again this week.


Paint pot from a mint sauce jar

I have made the paint pot as part of a load of craft stuff for my youngest granddaughters.  The love crafting, and I thought I would buy them some painting and colour stash to keep at the Dad's house.
This was an experiment with a bit of velvety material I had in my stash.  I used the clear Paverpol for this with some added bister to it.  I added a bit of lace and a wooden butterfly.  As with the rest of the items, I used Indigoblu luscious pigment powders for the painting.

 Having finished the paint pot, as I had everything out, I thought I would make a couple more fairy houses.
This started as a brown sauce bottle

I was a bit cross with myself with this second one.   I forgot to leave a bit of the jar showing for a window, so that I could put a tealight in it!  duh!
This one started out as a Branston pickle jar


Thursday 15 December 2016

Children's Christmas Cards


I decided I would try and use my new Jayne Nestorenko stamps and Groovi plates from Clarity Stamp for my granddaughters' cards   First two created with the stamps.

A bit of a learning curve using scenic stamps and creating your own cards,  (Thought I hadn't done too badly until I looked at the photos - a touch up o the colouring needed!  I put it down to my failing eyesight, and the fact that I was doing it at night!) 


Second two created with the Groovi board:

created on blue parchment

created on white parchment and matted and layered on a background created
 with blue Luscious Pigment powder from IndigoBlu


Wednesday 14 December 2016

One of those Difficult Cards


My sister-in-law sadly passed away at the weekend after losing her battle with cancer.    This is the topper I made for the card for my brother-in-law and her children.

I kept it simple, for the front, and put a more personal message on the insert.

Tuesday 13 December 2016

Clay Gnomes & Wizards


I had a little play with some air dry clay the other day, and made a couple of gnomes/wizards that I had seen demonstrated a while back on Hochanda.   (It took a while for my order to arrive, by which time the programmes on catchup had expired - fortunately I managed to watch one of the last repeats and "snip" some inspiration and save it).

For the figure on the left I shaped a cone of card and draped the clay round it.   Added some twine (unraveled) for its beard.   Then added a nose (you don't need a head as such just a large nose shape.   I then worked some all round medium into a piece of hessian for the hat.

The figure on the left is slightly hollow - using my fingers.  He had a round head an a smaller round for his nose.  I then flatted a strip of clay and snipped into it and textured it for his beard.    When I looked at my original "snips" from the show - I discovered he was supposed to have a clay hat!  (oh well next time - lol!)

In the first picture I realised the gnome looked more female as its beard had moved and it looked more like hair - so I re-arranged the twine - hopefully it looks more like a beard in this photo:


When I have time I will make a little family of these for next year, as I want to make some more fairy doors, and I can hopefully create a little scene.  I might even try to paint some of them as an experiment too!

Thursday 8 December 2016

Choir Boys


Many moons ago, when my children were small, we used to make choir boys from card and ping pong balls - possible something we learned from Blue Peter although I have an idea my mother made them first, so possibly something from WI!

I though I would attempt to make them using a card base covered in felt, and some cotton covered balls.  All was going great until it came to making sleeves   I just couldn't get the felt to stick no matter what I tried.  I had various sleeves on my desk, some done with pinflair glue, some with all round medium, some with cosmic shimmer, and finally some with powertex - none worked.  I have been told that there is a Collall felt glue, so I shall send for some of that - otherwise it might be a needle and thread job!    In the meantime, I have just run a promarker along the pipe cleaner arms!

The face was painted with flesh coloured acrylic and wool stuck on for hair and a face drawn on.  Lace was used for the trim and the neck ruff;

I have some white cotton, so I may even try making the sleeves from that as powsertex should work with that.

Having spent the afternoon working on the angel and the frustration of the sleeves, I decided to use some of the wood bodies I had to make a choirboy/girl inspired by the ones Leonie Pujol did on on Hochanda.   This was much simpler and took minutes.   Red felt was wrapped around the figure and tied with twine.  Twine was then threaded through the lace and that was tied on too.   The hair was created from more of the twine, which was unravelled to make it fill out more.  The face was painted as before and features drawn on with a micron pen.   Not sure I am completely happy with the effect, but it is supposed to be a bit Nordic.


Wooden choirboy/girl with the unclothed wooden doll on left.

Wednesday 7 December 2016

Wooden Ornaments (again)


Do you remember the little tree ornament I shared the other day?  Well when I was clearing up I discovered a label that said "light up" tree - duh mine appeared to have the base with the light missing!   Bother and other words - I had painted it!   However, I popped into the works and showed them my dilemma and to see if they had a spare base "floating around".   Well they were brilliant - they just gave me a replacement.  Well done the works.  However, it was a win win situation for both of us, as the replacement he gave me was a different style.  We found a replacement for the "deer" one, and I purchased the one with the church.

So here they both are.  Once again painted with Pebeo paints, some puffy paint for the snow on the base with some Eiskristalls added to the snow and the snowflakes, and star.  I then went over everything with the sparkle overlay pen, and finally a quick spray of Spray and Shine.

another view

and the BONUS was the light up feature - the bulbs change colour!


Monday 5 December 2016

Nostalgic Christmas Cake!


For the past few years, my daughter has said she would really like a traditional snow scene Christmas Cake, like we did when she was a child.

Well this year she has one.   This cake is for her husband, who loves my rich fruit cakes, and who fancied a royal iced cake this year.   So I decided to cheat, and give her a snow scene.   Instead of taking me nearly a week to get all the perfectly smooth layers of icing on, this took my less than half an hour!  (My daughter has another small cake to come coated with sugarpaste, which is gluten free).

I did a very quick "smoothish" coat with a palette knife, and then went over adding more icing and paddling it into peaks.  smoothed a little path and added the ornaments (on the understanding she gives them back to me later!)

I then paddled a thin layer of icing onto the board and stippled it with the palette knife.   Voila done!

It is ages since I iced a cake this way - probably the best part of 40 years!

I now have to decorate another four cakes, which have had their sugarpaste on.  (Now how many cheats can I get away with on those!)

The proof of the qulity of the icing will be in the cutting.  Normally my royal iced cakes cut like butter.  Hope I put enough glycerine in it!

I will share pictures of the other cakes as I get to decorate them!

Sunday 4 December 2016

a Little Tree and a Lantern


I bought a couple of little ornaments in the Works yesterday, and decided to start painting them yesterday, whilst watching a Christmas movie on tv.

Initially I coloured the tree with distress inks, but wasn't quite happy with the results, so went over it again with my Pebeo paints.   The white paint at the bottom of the tree , the snowflakes and the star has glue applied and then I added Eiskristals.  The base and then rest of the ornament then had a quick paint with the clear glitter overlay pens, and finally a quick coat of spray varnish.


This is the lantern before I started painting it
and the tree started off the same plain wood too


and here is the finished article   I wasn't sure whether I wanted it to be a shiny brass lantern or more distressed - I eventually went with the distressed look.

Painted with acrylic paints similar to the tree, but for the lantern I used Decoart mixed media paints.  I also applied some puffy paint for the snow at the base and added more Eiskristals.

another view

close up of the "rusty verdigris look"  (You can also see the effect of the Eiskristals
on the snowflakes from this angle quite well too

Thursday 1 December 2016

Christmas Cards Part 6

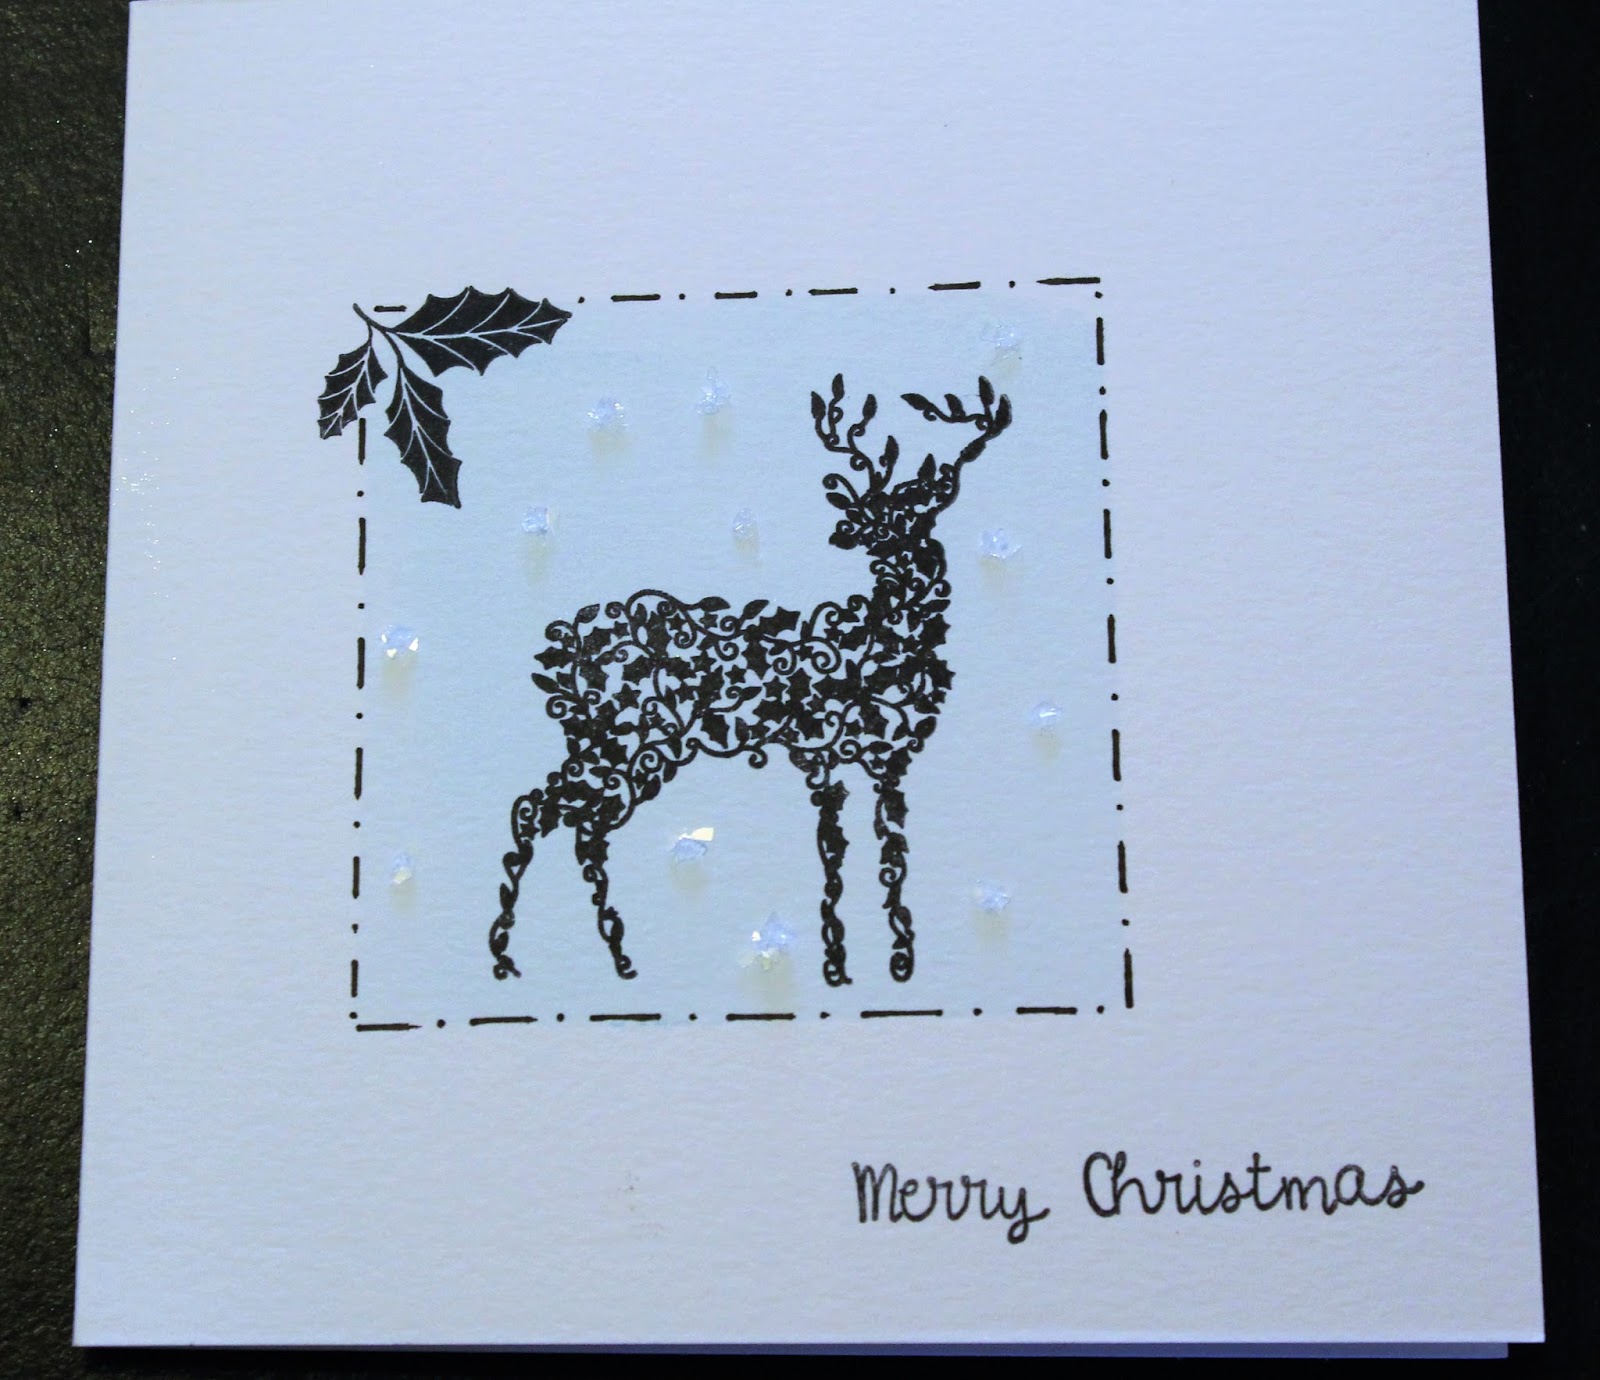
Hopefully this is the final lot, shan't know until I consult the Xmas Card List .........

I used a stamp that came with my Clarity Club - a Holly Deer.


and using some of the old stamps from my stash ....