Going Green Blog Background

Saturday, 15 August 2015

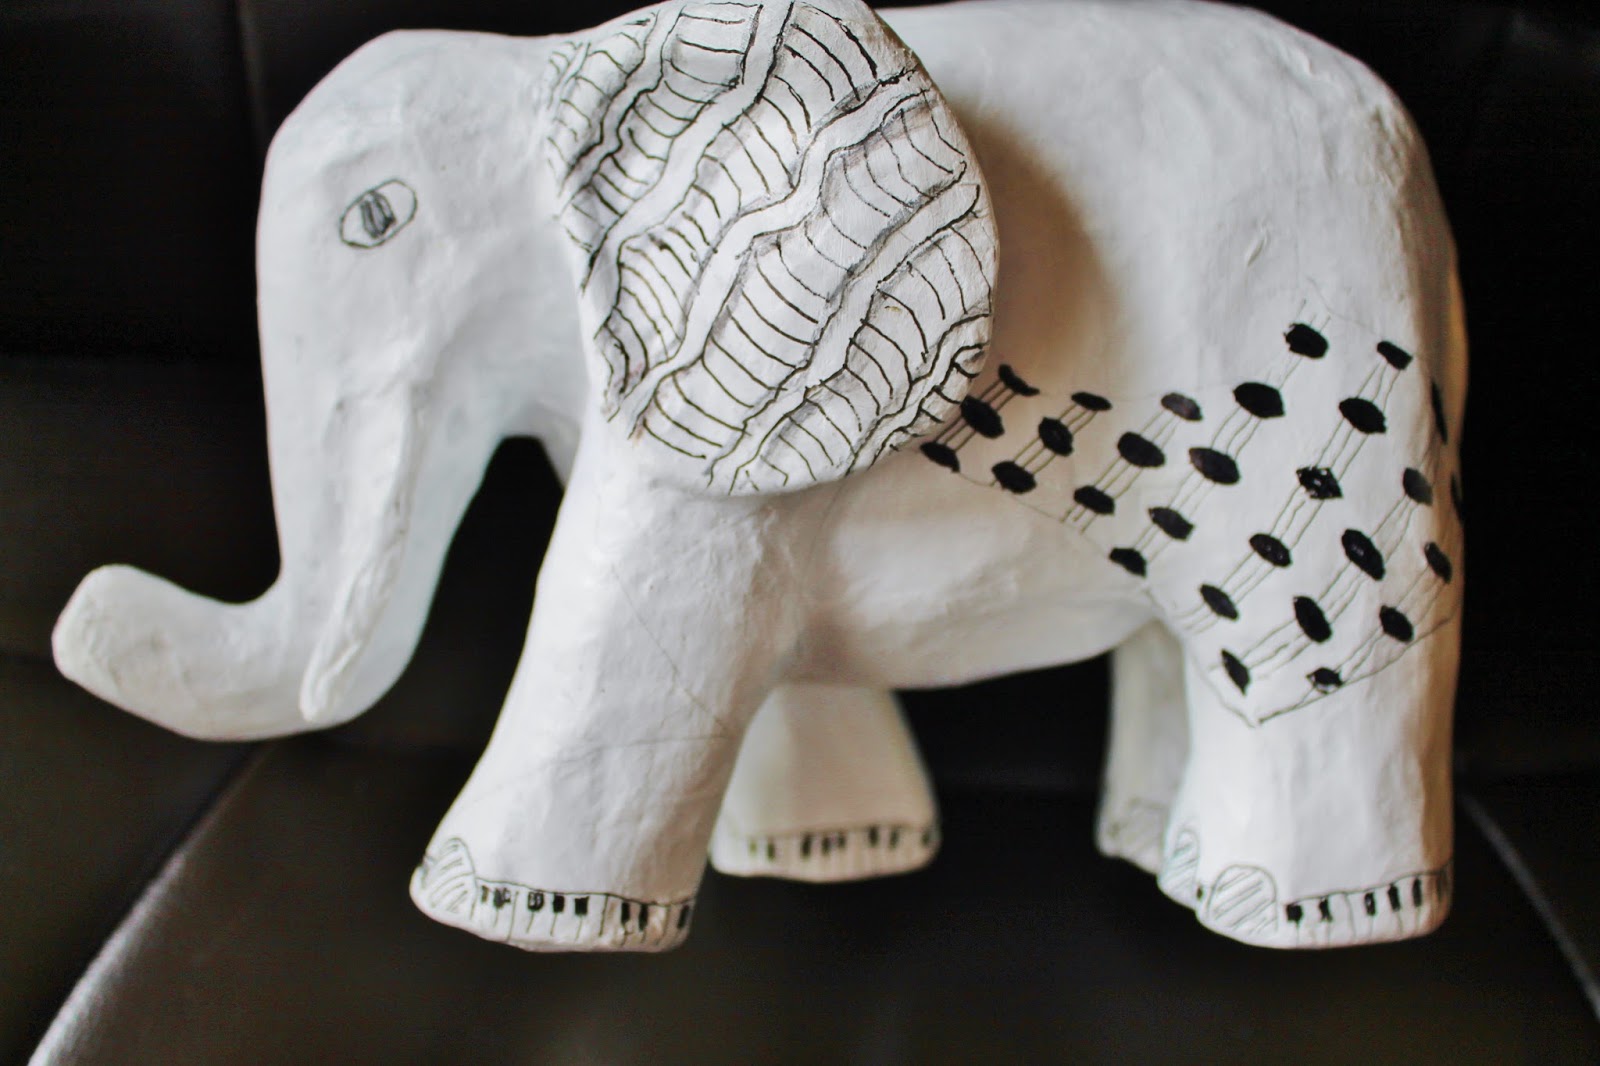
Tangled Elephant - W.I.P.

Work in progress

gessoed

a herd of painted elephants (1 for me, 2 for granddaughter)

Thursday, 13 August 2015

HOME Again


I managed to get some more HOME letters from The Works (for info £1 a packet), and my daughter requested a set in her favourite colour - blue.

These are work in progress at the moment as I have only painted the top side.   I am hoping to eventually do a more silver and blue on the other side

The MDF letters were first painted with black gesso.  When dry the side you can see had Black Pebeo Ceramic paint applied and whilst it was still wet I applied in the following order the Pebeo products, using a kebab stick:

Turquoise Fantasy Moon
Onyz Fantasy Prisme
Eggshell White Fantasy Prisme
Turquoise Vitrail
Eggshell White Fantasy Priseme (again)

When it this side is dry, I will paint the other side of the letters in a different colour (the advantage of the word HOME is it is reversible).  I will then paint the rest of edges of the letters with black ceramic paint.

I have another four sets of letters to paint for Christmas presents - I think knowing my friends and rellies - this particular colourway (or variations on it) are going to be most popular.

Quite pleased with how they turned out as you never quite know how the paints are going to react together - my granddaughter who was painting with me in the Den yesterday, was fascinated by the way they paints reacted considering they were only dropped on from a kebab stick!


Wednesday, 12 August 2015

Owl Heart


I spent the afternoon in my Den with my eldest grandaughter today.  Her mum is "owl mad", and her favourite colour is turquoise, so I made this little plaque for her.

Both parts had black gesso applied, and the heart then had black Pebeo acrylic applied, and the edge painted with silver leaf paint.

The Owl had some texture applied by sponging on Pebeo modelling paste.  Then it was painted with iridescent DYNA blue/green acrylic and highlighted with silver and gold DYNA, and the branch painted with bronze DYNA.

It was then glued to the heart, carefully lining up the hole in the heart with the hole on the owl  (a kebab stick came in very handy).  Finally a coat of spray and shine was applied.

.... and best of all - my daughter loved it!

Tuesday, 11 August 2015

Birthday card


Another card using CAP2 - Mainly went with a ready made layout and added a few bits and bobs

Monday, 10 August 2015

How Romantic!


My great niece got engaged over the weekend, and I have made this card for her and her fiancé.

I gather it was quite a romantic proposal.  They are currently on holiday and on Saturday evening they went out for a beach side meal and a walk along the sand, when suddenly they came across loads of candles spelling out "Marry Me" and she turned round to see George on one knee!  Needless to say she said "Yes".

I couldn't resist using these two little mice - albeit he is not down on one knee!  Hope they like it!

the proposal !

Friday, 7 August 2015

Three Quick Little Card Toppers


My granddaughters were off on 
holiday and I made these little 
toppers for some cards with some
spending money in.

Mad with my new sugar buttons cd, and then transferred to CAP for the wording.

Thursday, 6 August 2015

21st Card for a Boy


Made this topper for my step-grandson who is very much into bowling.

Wednesday, 5 August 2015

Oops - I forgot


I suddenly realised on Sunday that I had forgotten my brother-in-law's birthday.   Fortunately he is on FB so I was able to post this on his wall.  (That will teach me to look at the next month on the calendar before actually turning it over on the first of the month!

I used the Sugar Buttons cd for the Giraffe and the oops, and then took that into CAP and did the rest of the "card"

Tuesday, 4 August 2015

Silver Wedding Card


Made this topper for my niece's Silver Wedding Anniversary today.  
I mounted it on silver grey pearlescent card.

Gosh where have the years gone - I remember the day so clearly it was a really hot day, and remember the look on her face when she got to the reception and her pony was waiting for her, complete with rosettes in her wedding colours  In the evening we danced on the lawns of the reception venuel, as it was too hot to dance indoors!

Saturday, 1 August 2015

Owl & Heart and Owlerflies/Owlieflies!


Blue, purple and pink


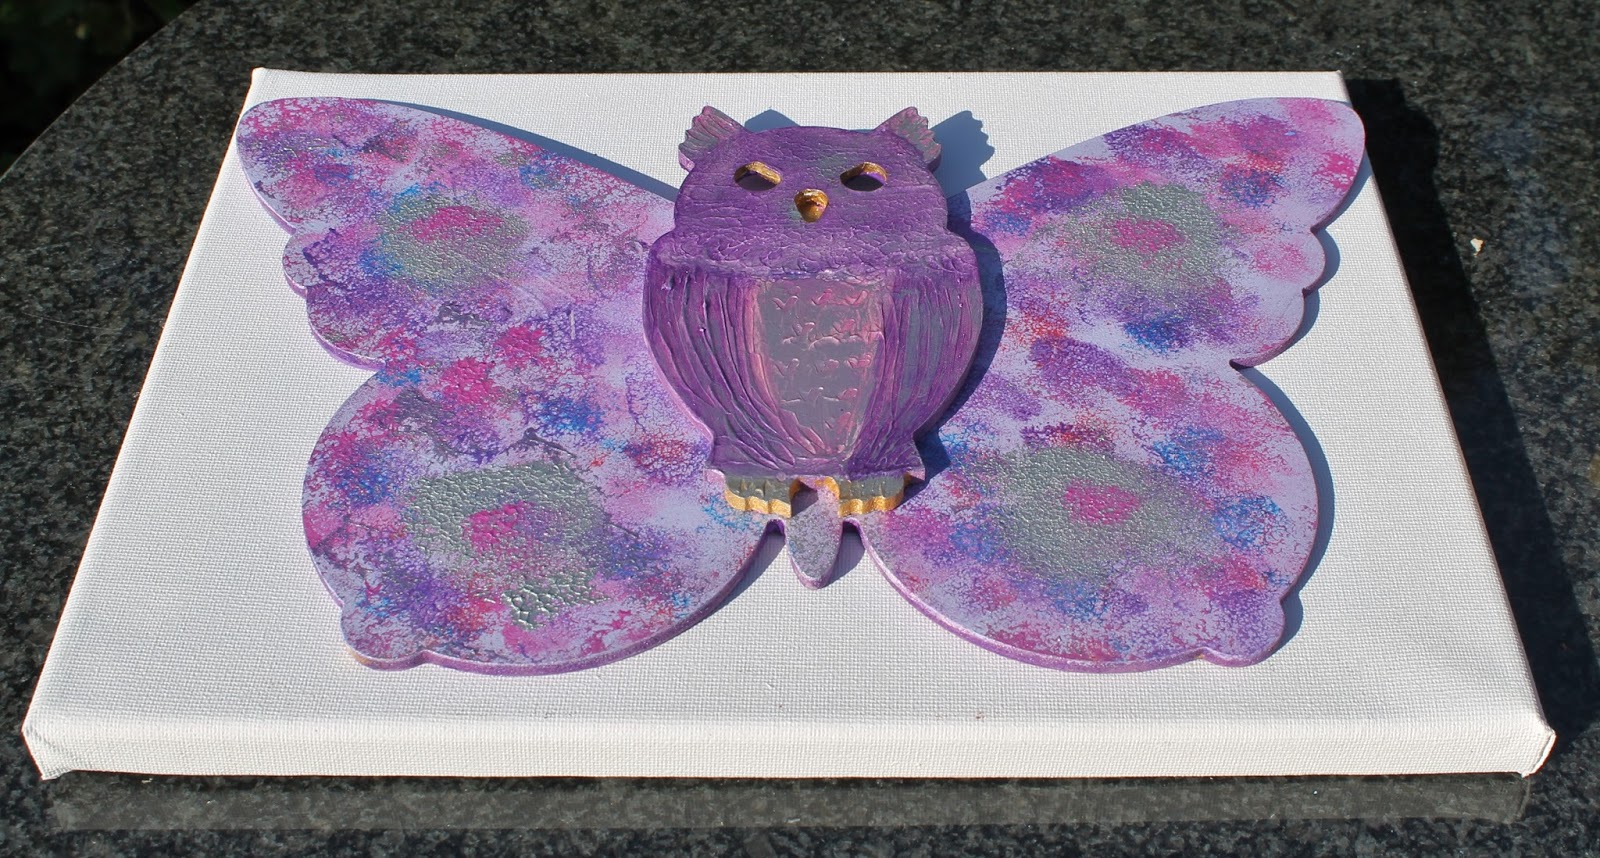
It started some months ago - my son's daughter's were raiding my stash in the Den, and discovered the owl in my stash.  Needless to say they all wanted the Owl!  I only had one cut out owl, but I offered them some other owls, and the second eldest decided that she wanted her owl on a butterfly background - and decided to call it an Owlerfly!  I eventually managed to get some more of the owls, but needless to say they then didn't want them!  So eldest granddaughter having had first "bagsy" on the owl and heart originally got to keep her choice.   The second eldest stuck with her larger owl, and the three-year old also decided she wanted the plain owl and butterfly as well!

However, I was given instructions as to the colours they wanted!


Purple and pink (the original Owlerfly!

Youngest's Owlerfly - Blue and Pink

Everything had white Gesso applied to them.  The Owls then had some Pebeo Texture paste added to them, and then sponged and textured with one of my rubber modelling tools to give the effect of wings and some markings on the front.  

They were then painted with the requested colours, using a mixture of metallic acrylics and Pebeo iridescent paints,  The cut-out Owl also had a pink- red vitrail mixed with lightening medium and and a lilac fantasy paint for its breast. When dry I applied some Pebeo gilding wax - gold for the cut-out Owl and Silver for the other two.  Liquid gold leaf was applied to the insides of the eyes of the two Owlerflies. 

I then sponged the butterflies and heart with various metallic and iridescent paints to compliment the owls in the colours the girls chose.

I am nor sure whether the girls want these to hang by ribbon etc in their room, or whether they would like them mounted on a canvas to create a piece of artwork for the walls of their bedrooms.

This is what they look mounted on a canvas:


Hope you like the Owlerflies/Owlieflies (chose your own version of the name)  as designed by a six-year old  Thanks for popping by.